
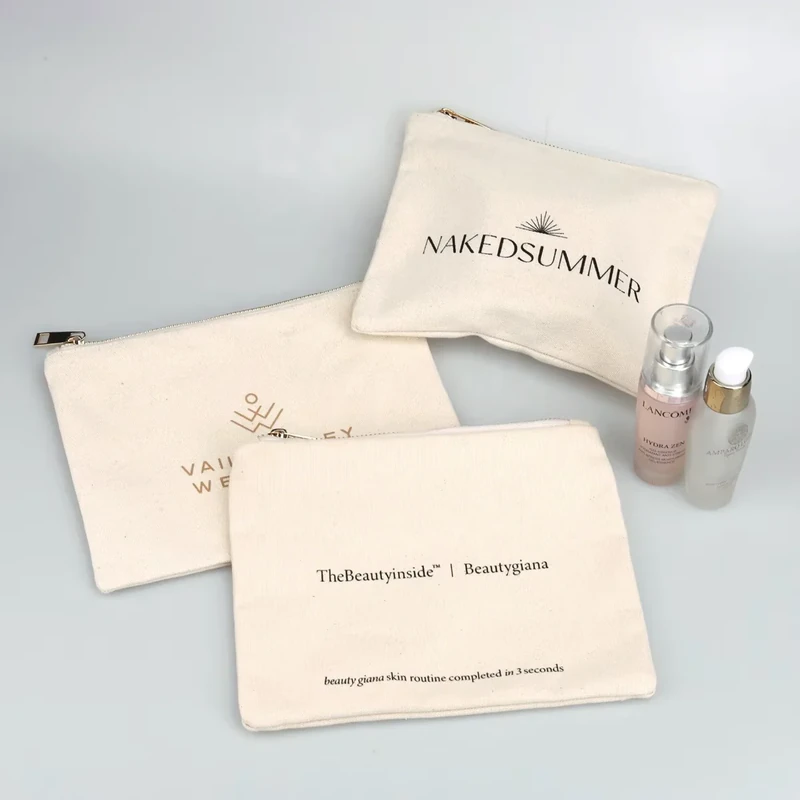
Choose a cosmetic bag by listing its actual contents, deciding which items must stand upright and checking the opening through which they will pass. Flat pouches work differently from gusseted makeup bags and boxy toiletry kits. Equal outside width and height do not mean equal usable space.
The dimensions below are custom-development proposals, not stock specifications or tested capacities. Width is left to right, height is bottom to top, and depth is front to back. Measure flat bags empty and laid flat; measure three-dimensional bags empty and opened into shape without stuffing or stretching.
Build a Contents List with Dimensions and Orientation
Lay out the exact products for the kit: compacts, tubes, bottles, jars, brushes and any retail cartons that remain around them. Measure the complete packages, including pump heads, caps and protective covers. A bottle's labeled liquid volume does not reveal its outside shape.
Decide whether each item stands upright or lies down. If a tall bottle needs to stay upright for the intended use, that height becomes a direct design requirement. If it can lie horizontally, it uses width or depth instead. Do not rely on diagonal placement unless that is an intentional and repeatable packing method.
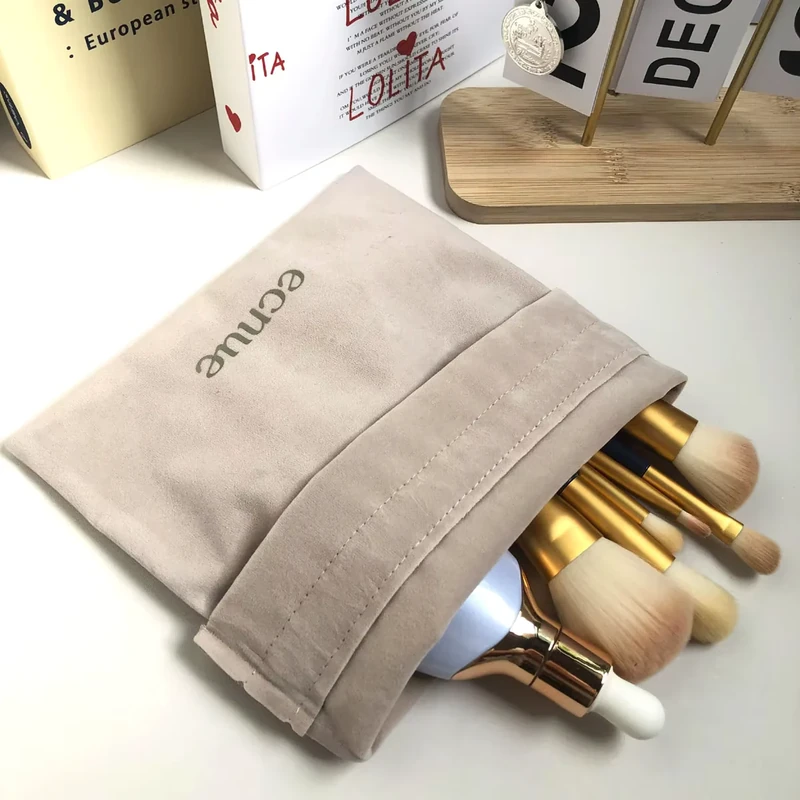
For brushes, measure from the handle end to the furthest bristle tip or protective cap. Include enough room to remove the brush without forcing its head against the zipper. For a rigid palette, record its thickness as well as its face dimensions.
Separate fixed kits from general-purpose retail bags. A fixed promotional kit can be developed around known products. A general-purpose makeup bag needs an agreed representative contents set so that approval is based on something more specific than “daily essentials.”
Cosmetic Bag Size Chart by Structure
The following outer dimensions are sample candidates. Inches are rounded from centimeters. Every row requires a contents and opening check before production.
| Proposed outer dimensions | Approximate inches | Structure | Development direction |
|---|---|---|---|
| W18 × H12 cm | 7.1 × 4.7 in | Flat zipper pouch | Compact daily selection of slim items |
| W23 × H14 cm | 9.1 × 5.5 in | Flat zipper pouch | Palette, tubes or a small promotional kit |
| W23 × H14 × D6.5 cm | 9.1 × 5.5 × 2.6 in | Gusseted makeup bag | Products that need some standing depth |
| W21 × H13 × D11 cm | 8.3 × 5.1 × 4.3 in | Boxy toiletry bag | A compact arrangement with greater depth |
| W25 × H10 × D5 cm | 9.8 × 3.9 × 2.0 in | Long brush and tool pouch | Longer brushes or narrow tools |
| W26 × H18 × D10 cm | 10.2 × 7.1 × 3.9 in | Taller travel bag proposal | Upright bottles and a mixed kit |
| W28 × H20 × D12 cm | 11.0 × 7.9 × 4.7 in | Larger kit proposal | More products or planned internal sections |
For scale comparison, Rains publishes outer dimensions of W21 × H13 × D11 cm for its Wash Bag Small and W23 × H14 × D6.5 cm for its Cosmetic Bag. Those references inform size discussion only; a custom bag's usable space and performance depend on its own construction.
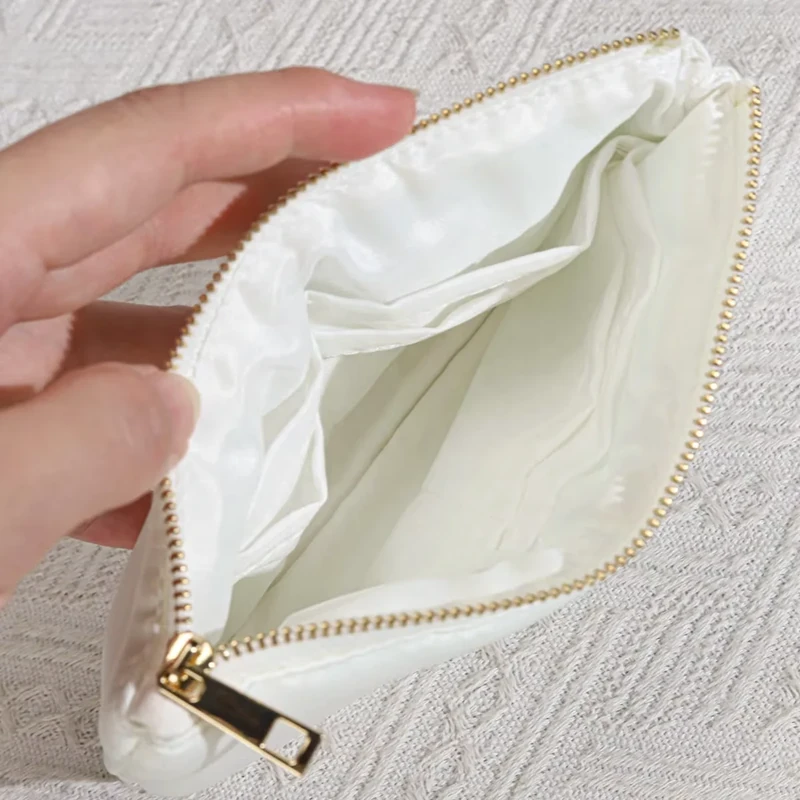
Understand What Flat, Gusseted and Boxy Shapes Change
A flat zipper pouch has no planned depth at its base. When it holds thick objects, the panels bow outward and part of their width and height wraps around the load. It should not be treated as a thin box with full usable space equal to its outside measurements.
For example, a rectangular palette that is 14 cm wide and 2 cm thick, approximately 5.5 × 0.8 in, needs an ideal usable flat tube width of at least 16 cm before ease. Its 14 cm face width alone is not the right screening value. The zipper entrance and the palette's other dimension still need checking.
A gusset provides intended depth, helping the base take a different shape. A boxy pattern assigns depth throughout more of the body. Both structures can make a mixed kit easier to arrange, but their actual behavior depends on fabric stiffness, lining, seams and zipper design.
Avoid using outer W × H × D as a usable-capacity promise. A 21 × 13 × 11 cm rectangular envelope is approximately 3.0 liters mathematically, but seams, rounded corners, lining and the opening occupy space. That calculation does not prove the bag holds 3.0 liters of products or establish any liquid-containment function.
Check Bottle Heights, Brush Lengths and the Clear Opening
Consider four bottles whose maximum capped diameter is 4 cm and total height is 14 cm, approximately 1.6 × 5.5 in each. Standing in one row, their basic footprint is 16 × 4 cm before separation and ease. A bag only 13 cm high outside cannot offer 14 cm of upright internal clearance.
A taller design, such as the 26 × 18 × 10 cm proposal in the chart, is worth investigating. However, the extra outside height is not all usable; the zipper position and interior construction still matter. Alternatively, compare an approved horizontal arrangement if the products and intended use allow it.
For a 22 cm brush, approximately 8.7 in, a 25 cm outer-width pouch is a useful sample candidate. Verify the interior length and entrance instead of subtracting an assumed seam allowance. Check whether the brush can enter without bending its head and whether its protective cover changes the required thickness.
The clear opening can be smaller than the bag body. End stops, zipper tabs, rounded corners and lining can limit access. A wide rigid compact may fit inside only after an awkward maneuver; that indicates the opening needs review even if the finished dimensions are correct.
Allow Room for Lining, Pockets and Decoration
Pockets consume space even when empty, and filled pockets project into the main compartment. If the bag is approved as a blank cavity and dividers are added later, the original contents arrangement may stop working. Include the proposed interior layout in the first meaningful fit sample.
| Interior choice | Sizing implication | Sample check |
|---|---|---|
| Lining | Seams and folds reduce usable room | Inspect corners and zipper junctions |
| Slip pocket | Filled pocket shares space with the main load | Pack the pocket and main compartment together |
| Divider | Creates separate sections with their own limits | Check the widest item in each section |
| Brush holder | Requires room for handle and head alignment | Insert and remove the full brush without force |
Cotton, cotton canvas and polyester are possible outer-material directions. Confirm composition, weight, finish and the intended care method with actual samples. A lining does not automatically make the bag waterproof, leakproof or easy to clean; those are separate requirements to evaluate.
Review the branding method with the selected panel construction. Embroidery backing or label attachment can affect the interior, while a print close to a seam may distort around a full bag. Assess the logo after the pockets and main compartment are packed.
Approve the Complete Kit and Its Repacking Experience
Pack the exact contents in the proposed sample, close it normally and check the loaded shape. Observe whether pumps press against the top, rigid corners stress seams or the zipper needs the contents to be pushed down firmly.
Then remove and replace the items in a realistic order. A bag that works only when every product is inserted in one difficult sequence may not suit everyday use. A fixed retail kit can have a documented packing arrangement, but the customer should still be able to use the bag as intended after opening it.
Record the approved contents, dimensions, lining, pocket arrangement, zipper specification and logo position. If a bottle supplier changes the cap or a campaign adds a larger brush, review the fit again. A nominally identical product volume or kit name is not evidence that its physical package stayed the same.
For cleaning or liquid exposure requirements, agree how the chosen materials and finished construction will be assessed. Keep those results separate from the size approval; passing a fit check does not establish another performance claim.
Conclusion
The best cosmetic bag size follows the actual kit and the way it will be used. Choose the structure, measure the complete products, and test the clear opening, interior layout and closed form together. Outside dimensions provide a starting specification, while the loaded sample establishes practical fit.
Key Takeaways
- Measure bottles with caps and brushes with their protective covers.
- Decide which products must remain upright before choosing height.
- Compare usable space and clear opening across different structures.
- Approve pockets and lining with the full contents already inside.
Frequently Asked Questions
A flat W23 × H14 cm proposal is worth considering for some compact kits, while a W23 × H14 × D6.5 cm gusseted version adds planned depth. Neither size guarantees fit; measure the actual products and compare loaded samples.
Liquid volume does not specify bottle dimensions. Measure its maximum width and total capped height, then decide whether it must stand upright. Two bottles with the same labeled volume can require different bag sizes.
It provides a different shape rather than an automatic capacity ranking. Compare all dimensions, the opening and the packed contents. A wide flat pouch may suit a palette that is awkward to place in a narrower but deeper boxy bag.
Pocket fabric, seams and contents occupy part of the main compartment. Evaluate all sections filled at the same time. Moving a divider or increasing a specific dimension may solve the problem more effectively than enlarging the entire bag.
Not automatically. Fabric, seams, zipper and construction all affect containment. State the intended requirement and agree the relevant material or finished-product assessment. A size approval alone does not establish leakproof performance.
Related Resources
- Custom cosmetic bags — shapes, lining and branding directions.
- Gift pouch size guide — arranging beauty products in gift packaging.
- How to measure a drawstring pouch — further guidance on flat widths and product depth.
Send your contents list with measured bottles, tools and preferred orientation through our contact page to discuss a cosmetic bag sample.
Share your product dimensions, intended use, preferred fabric, closure, logo artwork and estimated quantity. We can review the details needed for a quotation and sample.
Discuss Your Pouch Project