
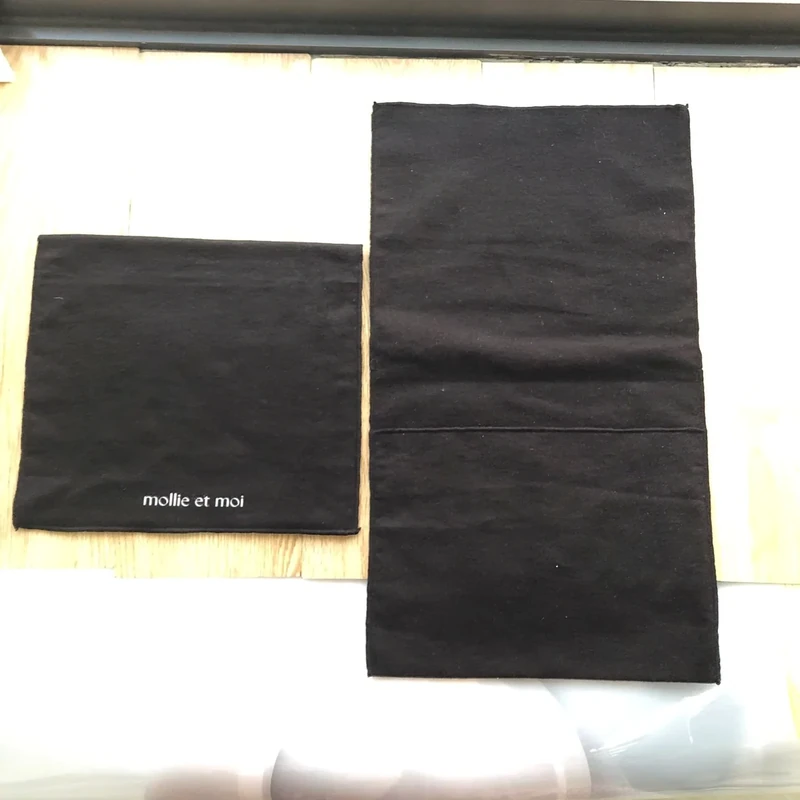
Measure a drawstring pouch empty and flat, without pulling the fabric: outside width first, then total outside height including the drawstring channel. Record the usable interior and the channel position separately. To choose a new pouch, measure the packed product in three dimensions and check how the bag closes around it.
That distinction prevents a common purchasing error: treating a finished bag measurement as its maximum product size. A clear specification describes both the bag and the item it must hold.
Define the Measurement Points Before Using a Ruler
Place the empty pouch on a level surface, open the drawstring fully and smooth obvious folds by hand. Do not stretch the material or pull the sides outward to obtain a larger reading. Measure the body rather than loose cord tails, bows or external decorative labels.
Use a straight ruler for the flat body and a flexible tape for the product's circumference. Photograph the measurement with the ruler aligned to the edge. If the bag has a curved bottom, shaped top or gusset, add a sketch showing exactly where each number begins and ends.
| Measurement | How to record it | Why it matters |
|---|---|---|
| Finished outer width | Left outside edge to right outside edge, empty and flat | Identifies the purchased bag size |
| Total outer height | Bottom outside edge to top outside edge | Includes the drawstring channel |
| Usable flat interior width | Interior between limiting seams, without tension | Helps assess the space available around a product |
| Channel position and height | Mark lower and upper channel boundaries | Separates the closure area from the body |
| Interior body height | Interior bottom to the agreed lower channel boundary | A flat reference, not guaranteed loaded clearance |
| Gusset depth, if present | Measure the opened construction at agreed points | Describes planned depth separately from flat width |
An existing sample may not have perfectly square edges. Agree whether width is checked at a particular line or at several locations. For a shaped pouch, a single widest-point measurement can hide a narrow entrance.
Measure the Product as It Will Actually Be Packed
Set the product in its intended orientation. Add the sales card, tissue, protective sleeve, tag, spare component or presentation box that will go inside. Measure the resulting assembly, not the bare product alone.
For a rectangular object, record width, depth and height. For a cylindrical item, record maximum diameter and total height, including lid and protrusions. For an irregular product, measure the fullest cross-section with a flexible tape and record a photograph of the tape position.
Do not compress soft goods more firmly than the packing team will. If a folded scarf can be packed in several ways, choose one folding method and document it. Otherwise the same pouch may appear to fit during development but become difficult to fill during routine packing.
Keep the product measurements separate from the proposed pouch dimensions. A drawing labeled only “18 × 24 cm” leaves the reader guessing whether it describes the item, outside bag or usable space. Label each set explicitly and choose one controlling unit. Inches can be shown as rounded references using the NIST conversion factor of 2.54 cm per inch.
Use Perimeter to Check the Minimum Flat Width
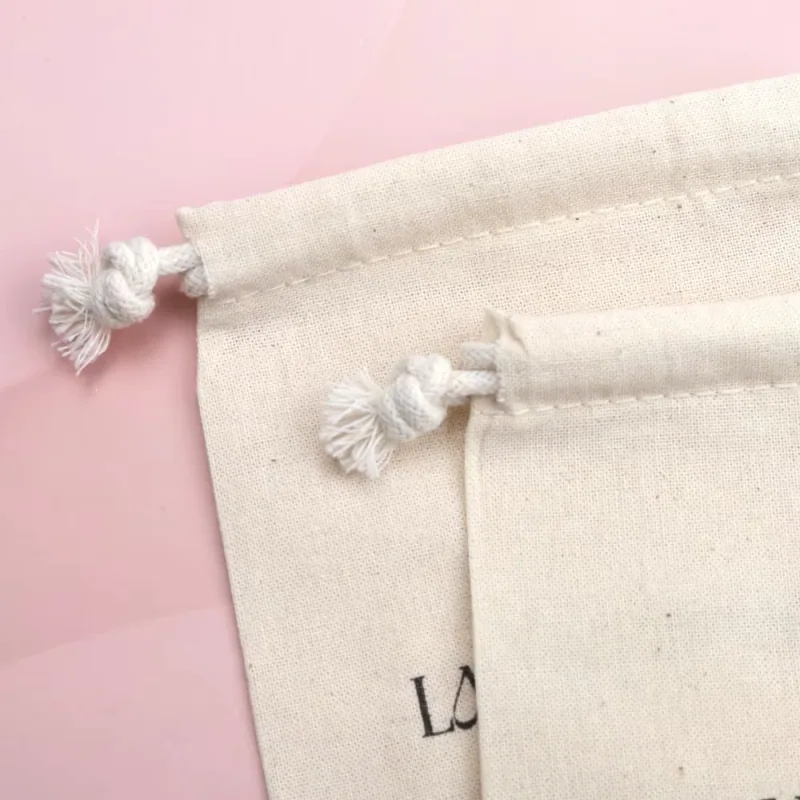
A flat pouch has front and back panels. Together, their usable widths must go around the product. This provides a useful geometry check before sampling, although it does not settle the finished outer dimensions.
For a rectangular cross-section with product width a and depth b, the perimeter is 2(a + b). Half of it is a + b. That is the ideal minimum usable flat width before ease, fabric thickness and other construction effects.
Suppose a box is 12 cm wide and 5 cm deep, approximately 4.7 × 2.0 in. Its half-perimeter is 17 cm, or 6.7 in. A bag that measures 17 cm outside cannot provide 17 cm of comfortable usable width. You might compare 19 and 21 cm outer-width prototypes, but those proposed dimensions still require sewn samples and are not universal allowances.
For a circular cross-section with diameter d, the minimum usable flat width is πd ÷ 2. An 8 cm diameter jar needs about 12.6 cm, or 5.0 in, before ease. The jar's lid may be wider than its body, so calculate from the widest part that must pass through the opening.
For irregular objects, half the measured maximum girth is a screening value. Corners, tapered openings, lining and insertion angle can demand more room. Do not use these formulas to promise fit or to calculate cutting patterns directly.
Determine Height by Watching the Loaded Pouch Close
The product's stated height is only one part of the height requirement. A flat bottom must form underneath the item, taking up fabric. At the top, fabric must rise beyond the product and move inward as the cord gathers the opening.
That is why “product height plus a fixed number” is unreliable across shapes. A narrow bottle and a broad rectangular box of equal height can need different neck space. The channel's location and the stiffness of the selected fabric also influence closure.
For a prototype, place the full product inside and settle it naturally. Mark the highest point on the outside with a removable marker or temporary tape. Observe where the lower channel edge sits relative to it. Close the pouch gently using the intended cords. Check for pressure on corners, bending of cards, a distorted base or material dragged tightly over the top.
If the pouch closes only when the product is forced down or rotated away from the approved orientation, revise the dimensions or structure. A successful sample should work in the normal packing sequence, not require an undocumented trick.
Compare Flat, Gusseted and Lined Samples Correctly
A gusseted bag needs a three-dimensional drawing. State whether W × H × D describes the empty bag opened into shape or another agreed condition. Show the measurement points because the dimensions of a flattened gusseted bag can be misleading.
Adding a lining can change usable room and opening behavior. A thick seam at the top can become the limiting point even when the body has enough space. Similarly, changing from a fine cord to a broad ribbon may alter how neatly the neck gathers.
Compare samples under the same conditions: same product assembly, same orientation, same closure method and same visual presentation. Record both outside measurements and the practical fit result. Do not assume that copying the outside size of one construction reproduces its capacity in another.
Turn the Sample into a Repeatable Inspection Specification
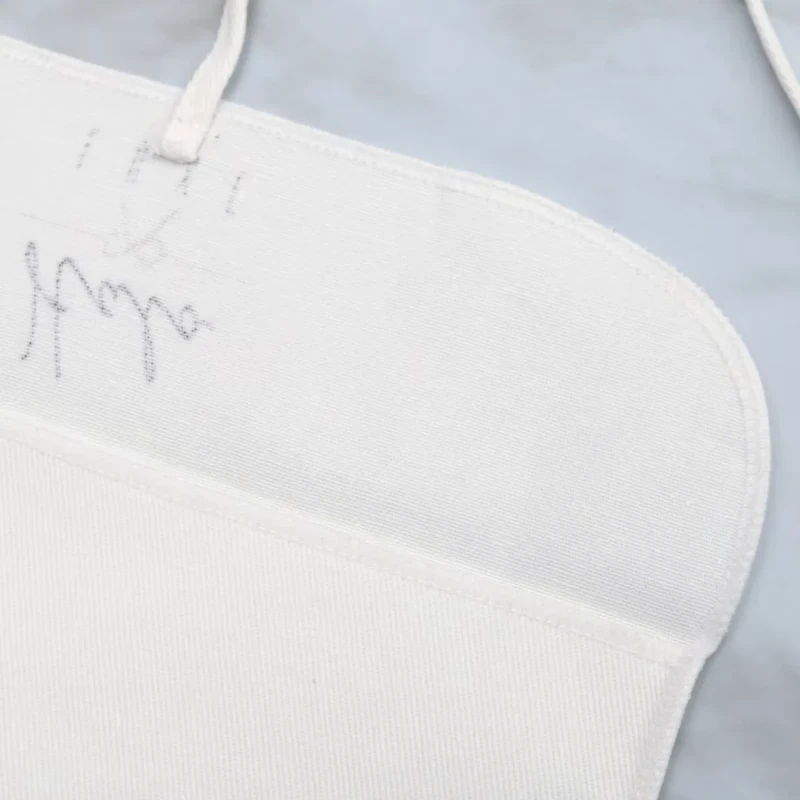
After selecting the sample, record the dimensions and agree tolerances for the actual construction. There is no universal tolerance that should be copied into every pouch order. A small jewelry pouch and a large fabric storage bag may have different critical fit requirements.
Include photographs of the empty measurement method and the packed result. Mark the acceptable logo position, channel position, opening behavior and any maximum product dimension that matters. If a particular corner must not touch a seam, show it directly.
Avoid two common approval gaps. First, a sample can meet its outer dimensions and still fail the product-fit requirement. Second, a sample can fit one unusually small product but fail larger units in the same range. Use representative production products and identify the largest relevant variant.
Where cleaning is part of intended use, agree the care procedure and the condition in which dimensions are checked. Assess the selected material rather than applying an assumed shrinkage allowance to every cotton or polyester bag.
Conclusion
Accurate pouch measurement starts with a shared definition of width, total height and usable interior. Geometry helps reject obviously undersized options. A loaded sample establishes the working size, closure behavior and packing method that the written specification needs to preserve.
Key Takeaways
- Measure empty fabric without tension and identify the exact measurement points.
- Measure the complete packed product, including its depth and accessories.
- Half the product perimeter is a width check before ease, not a finished bag specification.
- Approve total height through loaded closure testing.
Frequently Asked Questions
In the convention used here, yes. Total outer height includes the channel. Record its position separately so nobody mistakes the full height for usable product space. If another supplier uses a different convention, clarify it before comparing quotations.
Finished bag dimensions are measured after sewing. Cutting dimensions are separate manufacturing information because seam allowances, folds and hems change the finished result. A buyer's specification should clearly identify the finished size it requires.
You can propose a first sample, but not reliably approve fit. Bottom formation, product shape, channel location and gathered fabric affect the result. Check the actual closure with the full product assembly in the intended material.
The opening may be narrower because of the channel, lining, seam construction or cords that do not open fully. Measure the entrance separately and inspect the insertion path. Increasing body width alone may not solve an opening limitation.
Choose one as the controlling production unit and label the other as approximate. Convert rather than independently rounding both into separate specifications. For example, 20 cm is approximately 7.9 in; it is not exactly 8 in.
Related Resources
- Drawstring pouch size chart — compare practical development sizes.
- Handbag dust bag size guide — handle, depth and silhouette considerations.
- Custom gift pouches — size and construction options for packaging projects.
Share a measured product photograph or an existing pouch through our contact page to begin a sample review.
Share your product dimensions, intended use, preferred fabric, closure, logo artwork and estimated quantity. We can review the details needed for a quotation and sample.
Discuss Your Pouch Project