
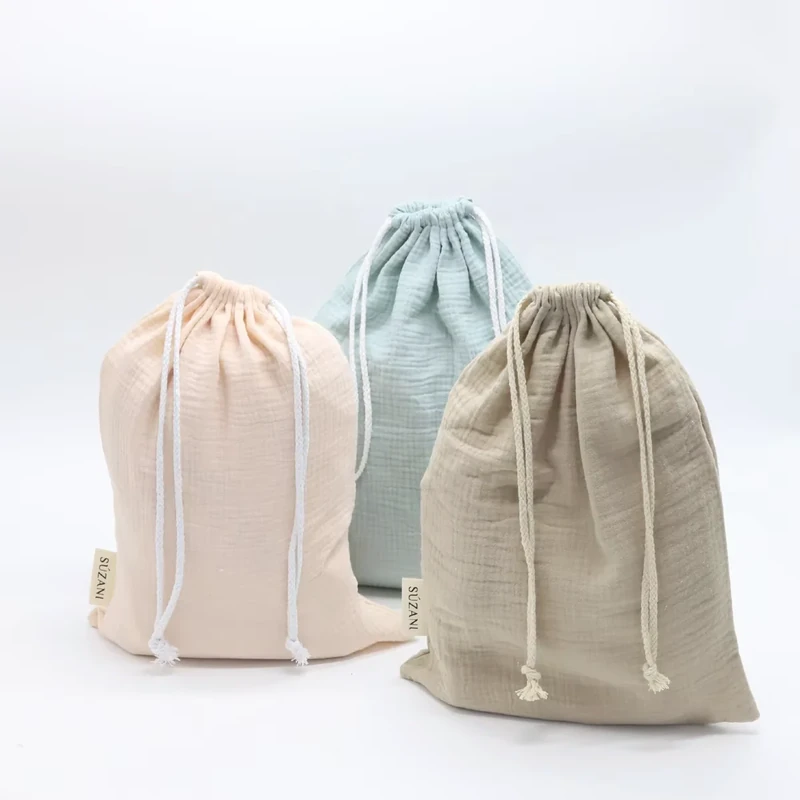
The right drawstring pouch must accommodate the product's width, thickness and height while leaving enough fabric above it for the opening to gather. Start with the packed product, choose a preliminary bag size, then check a sewn sample in the intended material. A size label alone cannot establish fit.
This guide gives brands a practical size chart and explains how to narrow the options. All dimensions below are planning examples for custom development, not stock specifications, tested capacities or universal packaging standards.
What a Drawstring Pouch Size Actually Means
For a flat drawstring pouch, we use finished empty outer width × total height, measured without stretching. Width runs from the left outside edge to the right. Total height runs from the bottom outside edge to the top and includes the drawstring channel.
The usable interior is smaller. Side seams, the bottom construction, lining and the closure area occupy space. Once a thick product enters a flat pouch, some of the width wraps around its sides, and some of the height wraps under its base. You cannot treat a 15 × 20 cm pouch as a box with 15 × 20 cm of unobstructed internal space.
Centimeters are the controlling units in this guide. Inches are rounded for convenient comparison, using 1 inch = 2.54 cm. See the NIST conversion table. Specify one controlling unit on the production drawing so rounding does not create competing dimensions.
LuxoPack’s gift box size guide makes a useful distinction between product, interior and exterior measurements. Carry that clarity into pouch specifications, while keeping the formats separate: rigid-box L × W × H cannot be reused as flat-pouch W × H. Fabric must wrap around product depth and gather at the opening.
A 14-Size Chart for Initial Pouch Planning
Use this chart to choose sample candidates. The suggested applications identify projects to explore; they do not mean every product in that category will fit.
| Proposed flat outer size, W × total H | Approximate inches | Development use | Fit detail to measure first |
|---|---|---|---|
| 8 × 10 cm | 3.1 × 3.9 in | Compact jewelry presentation | Ring profile, earring posts and any card |
| 9 × 12 cm | 3.5 × 4.7 in | Small pendant or bracelet pouch | Packed jewelry shape and closure clearance |
| 10 × 15 cm | 3.9 × 5.9 in | Longer jewelry cards or small accessories | Card height and thickness at its fullest point |
| 12 × 17 cm | 4.7 × 6.7 in | Jewelry cards and accessory sets | Complete card-and-product envelope |
| 15 × 20 cm | 5.9 × 7.9 in | Small boxed gift | Box width plus depth, then closure headroom |
| 18 × 24 cm | 7.1 × 9.4 in | Gift assortment or folded accessory | Combined bundle, including tissue and inserts |
| 20 × 30 cm | 7.9 × 11.8 in | Taller gift or personal-care set | Widest circumference and cap height |
| 25 × 30 cm | 9.8 × 11.8 in | Clutch, wallet set or belt packaging | Hardware, wrapping and item thickness |
| 25 × 42 cm | 9.8 × 16.5 in | Individual low-cut shoe pouch | Outsole length, width and instep height |
| 30 × 40 cm | 11.8 × 15.7 in | Accessory bundle or compact dust bag | Depth and intended orientation |
| 35 × 40 cm | 13.8 × 15.7 in | Handbag packaging proposal | Body width, depth and handle position |
| 38 × 45 cm | 15.0 × 17.7 in | One-pair shoe packaging proposal | Complete pair in its packing arrangement |
| 40 × 60 cm | 15.7 × 23.6 in | Folded textiles or larger storage project | Bundle thickness and expected handling |
| 50 × 65 cm | 19.7 × 25.6 in | Larger tote or handbag dust bag | Maximum body outline and handles |
Small changes can matter more than moving between generic small, medium and large labels. If a product needs extra width but little extra height, develop a wider pouch rather than accepting a tall, narrow shape just because it is the next catalog size.
Calculate Width Around the Product, Not Just Across It
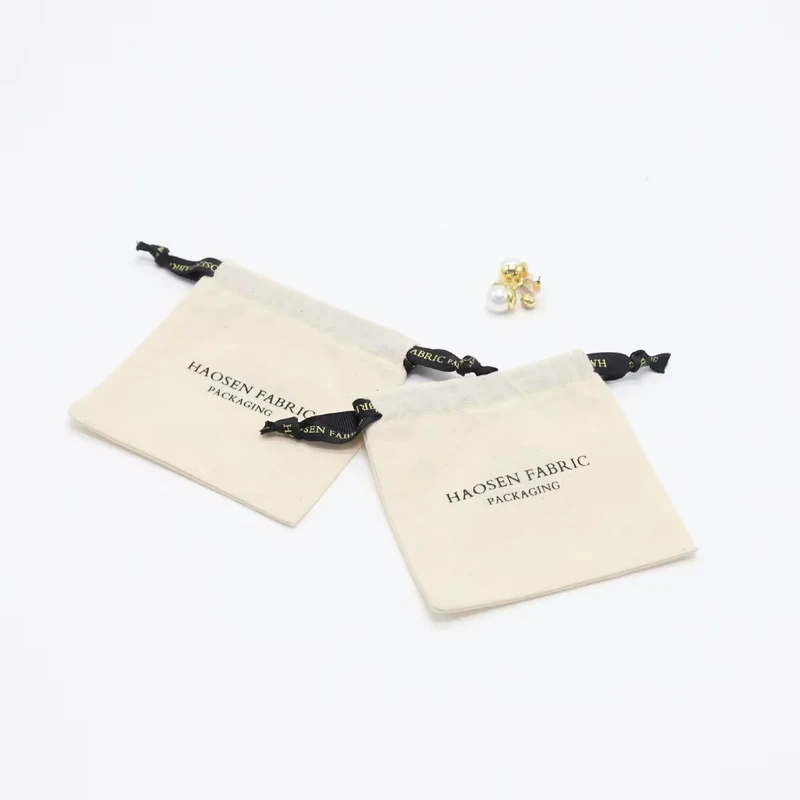
Consider a rectangular gift box measuring 10 cm across, 4 cm deep and 12 cm high, approximately 3.9 × 1.6 × 4.7 in. At the box's cross-section, the fabric must travel around a perimeter of 28 cm. An ideal flat tube needs half that perimeter: 14 cm of usable flat width, before any ease.
A pouch with 14 cm of finished outside width is therefore already too ambitious: its usable width is smaller, and the box still needs room to slide through the opening. A 16 or 18 cm outer-width prototype could be worth comparing, with height developed separately. These are candidates, not a calculated guarantee.
Round items need similar care. For a straight cylinder with an 8 cm diameter, approximately 3.1 in, the circular perimeter is about 25.1 cm. Half is about 12.6 cm, or 5.0 in. That is a geometric minimum for the usable flat tube width, before allowance for fit, seams or lining. Using the diameter alone would substantially underestimate the pouch.
For an irregular object, wrap a flexible tape around the widest section without compressing it. Include handles, protruding caps and attached packaging. The measurement guide explains how to turn those observations into a clear drawing.
Leave Height for the Base and the Closed Neck
The height decision has three practical parts: how the bottom forms around the item, where the top of the product sits, and where the drawstring needs to gather. A rigid box, rounded jar and loosely folded scarf will use the same nominal bag height differently.
Do not add one fixed allowance to every product. A narrow jewelry card may need little gathering volume; a wide, rigid gift box needs more fabric to move inward above its top. Thick canvas, a lining and a broad ribbon can change that movement again.
On the loaded sample, identify the highest product point and the lower edge of the drawstring channel. Close the bag normally. The channel should gather without pulling the product upward, bending its card or pressing a cap into the neck. Also check that the remaining opening is acceptable for the contents. A drawstring closure should not be assumed to seal completely.
Match Fabric, Cord and Logo to the Selected Size
Size approval should use the intended construction. A lightweight cotton sample and a lined velvet-style sample can have different usable space even when their outer dimensions match.
For a natural woven appearance, compare cotton options. For a more substantial hand, inspect suitable canvas samples. Satin, velvet-style and suede-like surfaces offer different presentation effects, but their names do not specify fiber composition, thickness or protective performance. Record those details separately.
Cotton cord, polyester cord and ribbon also need enough room in the channel to move comfortably. A broad ribbon may create a fuller gathered neck and needs an intentional bow length. A double-pull design changes how the user holds and closes the pouch; test it with the actual product in place.
Place the logo on the loaded sample as well as the flat drawing. A mark close to the top can disappear into folds. A very wide mark may curve around the product and become difficult to read. Screen printing, heat transfer, embroidery and labels should be assessed against the selected fabric and artwork.
Build a Size Range That Works Across Your Products
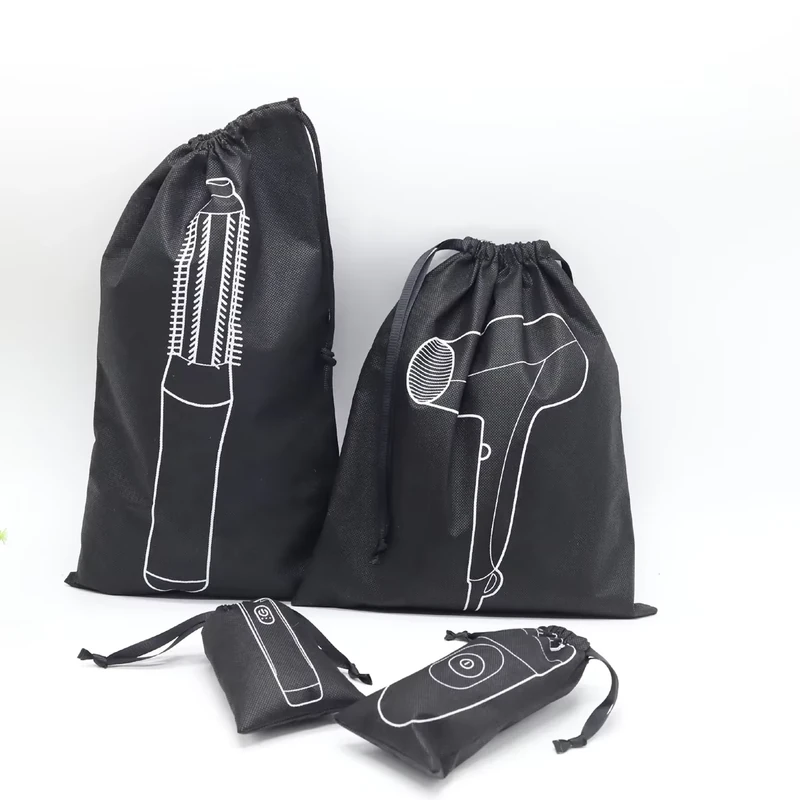
List the products by packed dimensions, then group items with similar width and depth requirements. Three useful sizes often serve a range better than several nearly identical ones. However, avoid forcing a tiny item into a large pouch simply to reduce the number of bag sizes.
For each proposed group, test the largest item for insertion and closure, the smallest for presentation, and the most awkward item for snagging or pressure. Include tags, spare parts, cards and tissue exactly as they will be supplied. Record the accepted packing arrangement with photographs.
Your approval record should distinguish finished outer dimensions, measurement method, agreed tolerances, material, lining, closure and artwork position. Specify whether fit must also be checked after an agreed cleaning procedure. Do not assume a universal shrinkage percentage or washing instruction from a fiber name.
Conclusion
A drawstring pouch size chart is most useful as a shortlist for sampling. Measure the complete product, account for the shape around it, and evaluate the closed pouch in its intended material. The final size should support easy packing, a balanced appearance and repeatable production checks.
Key Takeaways
- State finished empty outer W × total H and include the drawstring channel.
- Use thickness or circumference when evaluating flat pouch width.
- Develop closure headroom with a loaded sample rather than a fixed allowance.
- Approve fabric, cord, logo and dimensions together.
Frequently Asked Questions
Usually that is an unsuitable starting assumption. Those are outside pouch dimensions, and the product still needs room for seams, thickness, insertion and closure. Measure the complete product and select a larger or differently proportioned prototype for testing.
Only if its proportions solve the actual problem. A pouch may need additional width without much additional height. Custom sizing lets you address that directly instead of choosing an oversized pouch that leaves the product sitting at the bottom.
Yes, when their packed shapes are sufficiently similar. Test the largest and smallest products, plus any with unusual corners or hardware. Record which products and packing arrangements are approved for that particular size.
No. A gusset introduces planned depth and changes how the base and sides form. A wider flat pouch may accommodate volume, but it will gather and present differently. Compare loaded constructions rather than outer width alone.
Size alone does not establish protection. Excess room can allow products to move or contact each other. Material compatibility, separation, lining and the outer shipping package must be selected for the actual product and checked as a complete system.
Related Resources
- How to measure a drawstring pouch — measurement points and worked geometry examples.
- Gift pouch size guide — selecting proportions for boxes, jars and gift sets.
- Custom gift pouches — available directions for size, fabric, closure and branding.
Send your product dimensions, packing photograph and desired quantity through our contact page so we can review an appropriate sample size.
Share your product dimensions, intended use, preferred fabric, closure, logo artwork and estimated quantity. We can review the details needed for a quotation and sample.
Discuss Your Pouch Project