
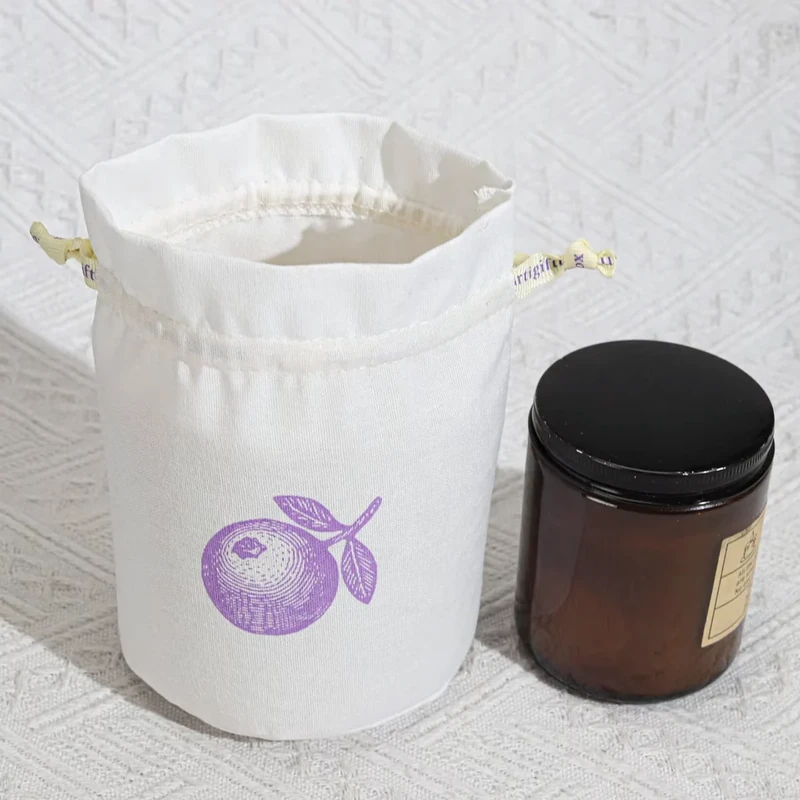
Select a gift pouch for the complete gift assembly, including its box, tissue, tag and any separate accessory. The pouch must open comfortably, form around the gift and close without crushing the presentation. Its width, height and gathered shape all contribute to the result.
For the flat drawstring proposals below, size means finished empty outer width × total height, including the channel. The figures are sample-planning examples, not stock sizes or guaranteed product capacities. Inches are rounded using 2.54 cm per inch, as shown in the NIST conversion table.
Define the Gift's Final Presentation Before Choosing a Bag
Start with a packed example rather than a list of individual product dimensions. Lay out the complete set and decide how it should be revealed when the customer opens the pouch. A box with a card on top, two jars beside each other and a folded scarf wrapped around an accessory create different envelopes.
Measure the assembled width, depth and height. Include protruding lids, handles, ribbon on an inner box and any item attached to the outside of the primary package but placed inside the pouch. Tissue should be folded as it will be during routine packing, not compressed unusually tightly for the measurement.
Decide whether the pouch is the visible gift package or an outer layer around another presentation. If the inner box must remain upright and its printed front face must appear first, record that orientation. It can determine the required opening and the best logo position on the pouch.
For mixed sets, specify the actual contents and quantity. A broad description such as three-piece gift set is not enough: one tall bottle can control height while two shorter jars determine width.
Gift Pouch Size Chart for Initial Samples
Use these proposals to create a shortlist. The applications identify a development direction, not a promise that every gift in that category will fit.
| Proposed outer W × total H | Approximate inches | Gift direction | Main selection question |
|---|---|---|---|
| 8 × 10 cm | 3.1 × 3.9 in | Small token or compact accessory | Can the item be retrieved comfortably? |
| 10 × 15 cm | 3.9 × 5.9 in | Carded gift or slim sample pack | Does the card stay below the neck? |
| 12 × 17 cm | 4.7 × 6.7 in | Small wrapped accessory | How much thickness does the wrapping add? |
| 15 × 20 cm | 5.9 × 7.9 in | Compact boxed gift | Does box width plus depth fit the usable width? |
| 18 × 24 cm | 7.1 × 9.4 in | Small assortment or jar presentation | Can the pouch gather above the full assembly? |
| 20 × 30 cm | 7.9 × 11.8 in | Taller gift or personal-care set | Does the widest lid pass the opening? |
| 25 × 35 cm | 9.8 × 13.8 in | Several packaged items | Will the set hold its intended arrangement? |
| 30 × 40 cm | 11.8 × 15.7 in | Larger gift bundle or folded textile set | Is a flat pouch still the right structure? |
If the gift's proportions sit between these examples, request a different width-to-height ratio. A nearly square gift can look awkward in a tall narrow pouch even when a much larger size eventually fits.
Size a Flat Pouch Around a Rigid Box
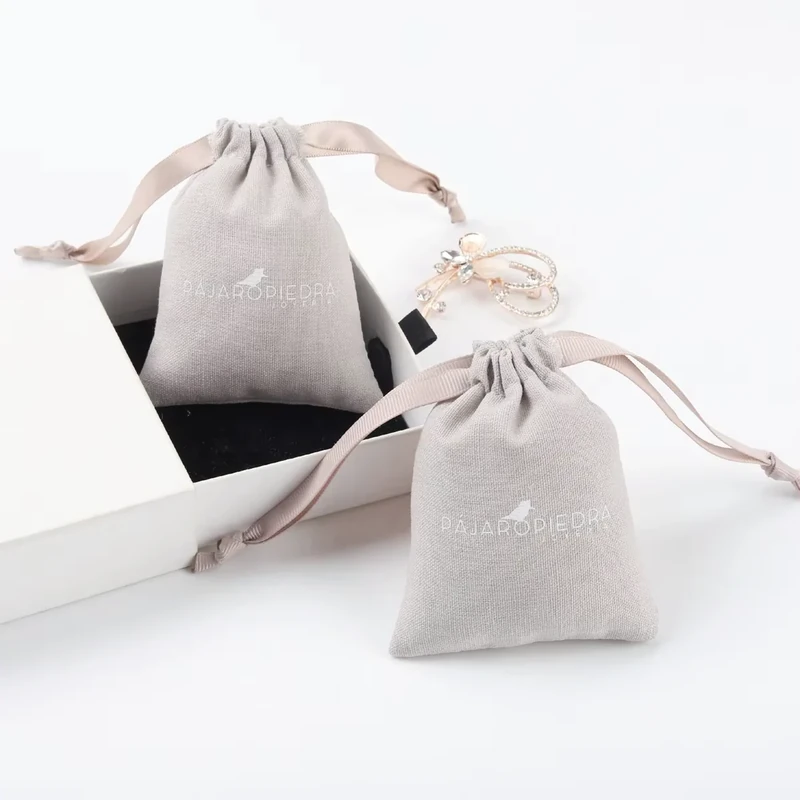
Suppose the final gift box is 10 cm wide, 6 cm deep and 14 cm high, approximately 3.9 × 2.4 × 5.5 in. Its rectangular cross-section needs an ideal usable flat width of 10 + 6 = 16 cm before ease.
A 15 cm wide pouch is therefore not a useful candidate despite being wider than the box's front face. Comparing 18 and 20 cm outer-width prototypes makes more sense, with their height developed around the actual base and neck. Neither candidate is approved solely by this calculation.
Check the insertion sequence too. A square corner can catch at the channel or lining even if the box settles comfortably in the body. The packing team should be able to lower the box into place without bending it or stretching the fabric.
When the box is deep, compare a gusseted pouch with a wider flat pouch. The gusset creates planned depth and changes the presentation around the bottom. Specify outside W × total H × D and check usable interior dimensions separately; do not assume that an outside gusset depth equals available product depth.
Use Circumference for Jars and Measure Handles Separately
A straight cylindrical jar with an 8 cm diameter, approximately 3.1 in, has a circumference of about 25.1 cm. A flat tube requires about half of that, 12.6 cm or 5.0 in, as a geometric minimum usable width before ease.
This is why selecting a pouch only slightly wider than the jar's diameter is unreliable. The fabric travels around the cylinder. Use the largest diameter, which may be at the lid, and check the entrance with the actual lid in place.
A mug needs a different assessment because the handle makes its cross-section irregular. Measure the complete profile and maximum girth in the proposed orientation rather than using the circular cup diameter alone. If a retail box surrounds the mug, measure the box instead.
For two jars together, measure the combined arrangement with any separator. Do not assume that doubling the single-jar pouch width gives the best pair-size design. Rotating the arrangement may change width, depth and presentation, so agree one packing method and sample it.
Plan Ribbon, Drawstring and Logo as Part of the Gift
The closure changes the silhouette. Cotton cord can support a simple woven presentation, polyester cord offers another material direction, and ribbon creates a different visual emphasis. Choose the actual width, surface and color before approving the neck dimensions.
A ribbon bow needs enough free length to tie consistently. The channel must allow the selected ribbon to travel without twisting or becoming excessively bulky. Review the gift both fully closed and after the customer unties it; the opening should remain easy to find and use.
Fabric selection also affects how a gift sits. Compare cotton, canvas, satin or velvet-style samples for the intended drape and hand. These categories do not by themselves establish fiber content, colorfastness, washability or protective performance. Approve the actual material and finish.
Place the logo below the area that gathers. Check it on the filled pouch from the customer's viewing angle. Screen printing, heat transfer, embroidery and labels can be reviewed against the fabric and artwork, but a larger decorative panel is not automatically better if the design wraps around a rigid box.
Test the Packing Process and Seasonal Variations
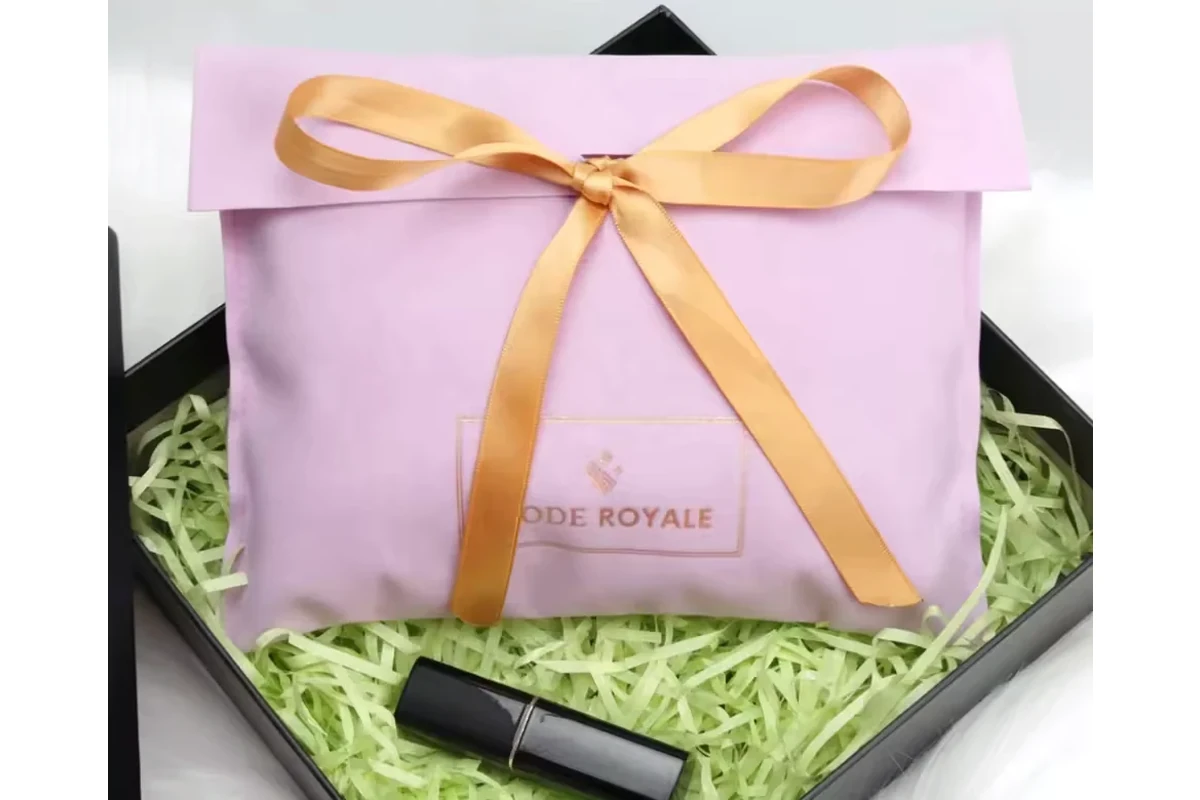
Build the full sample with its approved tissue, card and closure. Ask another person to pack it from the written instructions. If that person needs to invent a different fold or remove an insert, the packaging arrangement is not yet clear enough.
For seasonal programs, check the smallest and largest gift combinations intended to share the pouch. A holiday addition such as an extra card, ribbon-wrapped box or accessory can change the required envelope. Keep an approved contents list for each pouch size.
Check the final package for unnecessary empty fabric, distorted corners and a logo hidden by the neck. An oversized pouch may close easily but look unbalanced. An undersized one can make ordinary packing slow and inconsistent.
Finally, distinguish presentation from transport protection. If the gift is fragile or liquid-filled, its primary package and shipping arrangement need their own assessment. A decorative cloth pouch should not be presumed to cushion impacts or contain a leak. Evaluate the full system using the actual products and route requirements.
Conclusion
Gift pouch size is a design decision about the whole presentation. Measure the assembled gift, use its depth or circumference to screen width, and develop the closure with the selected material. Approve the final arrangement, decoration and packing sequence together.
Key Takeaways
- Include boxes, tissue, cards and accessories in the measured gift envelope.
- Rectangular box depth consumes flat pouch width; jar diameter alone is insufficient.
- Test ribbon length and neck space with the actual closure material.
- Recheck fit when a seasonal gift assortment changes.
Frequently Asked Questions
Measure the box's width, depth and height first. For a flat pouch, width plus depth is an ideal minimum usable width before ease. Select larger outside-width candidates and test their height and closure with the real box.
Diameter helps calculate circumference, but it is not the required flat width. The ideal usable flat width starts at half the widest circumference before ease. Lid width, seams, lining and the insertion opening still need checking.
It can change the gathered neck, but there is no universal extra-height rule. Ribbon width, thickness, channel design and the desired bow all matter. Compare the intended closures on a loaded sample before setting dimensions.
Arrange all items with their separators and wrapping, then measure the combined envelope. Record the layout and test whether it remains stable during ordinary handling. Individual dimensions added together do not always describe the final arrangement.
Only if each approved set passes fit and presentation checks. Test the largest contents for closure and the smallest for excess empty fabric. Keep a contents-to-size list and review it whenever a set changes.
Related Resources
- Custom gift pouches — material, closure and branding options.
- Drawstring pouch size chart — compare sizes across applications.
- Jewelry pouch size guide — carded and insert-based gift presentation.
Send a photograph of the complete gift assembly through our contact page to discuss proportions, materials and a first sample.
Share your product dimensions, intended use, preferred fabric, closure, logo artwork and estimated quantity. We can review the details needed for a quotation and sample.
Discuss Your Pouch Project