
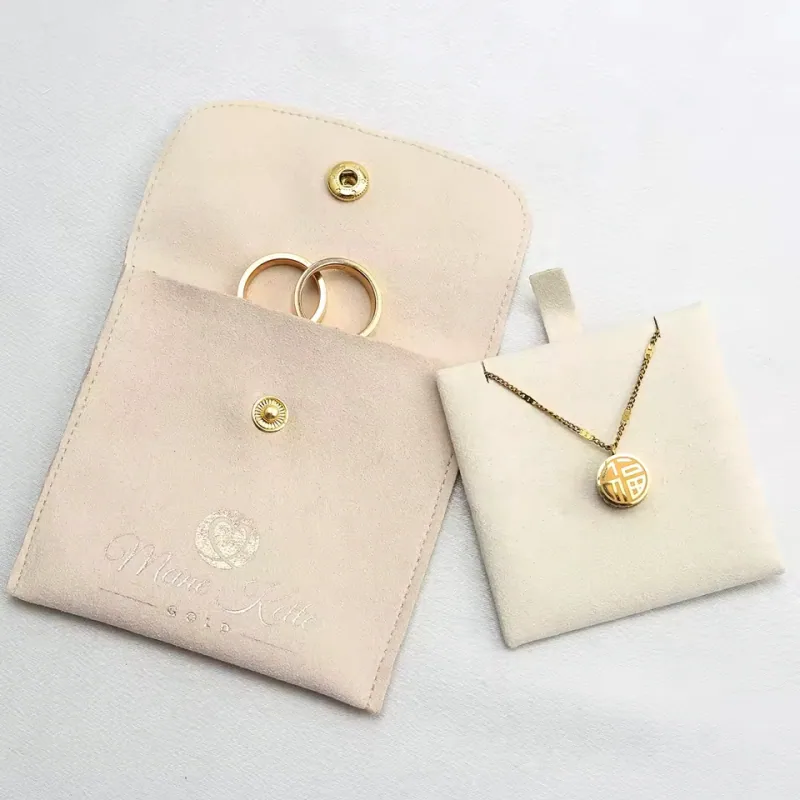
Choose a jewelry pouch around the jewelry's packed shape, including its card, insert or presentation box. A ring with a raised setting, a necklace on a card and a bracelet on a cushion can need very different space even when all three are sold as small jewelry.
For drawstring styles, the dimensions in this guide mean finished empty outer width × total height, including the channel. Inches are rounded from centimeters. The size proposals are development starting points, not universal jewelry standards or confirmed fit specifications.
Start with the Packed Piece, Card and Insert
Lay out exactly what the customer will receive. Measure the jewelry in the position it will occupy, then include every component inside the pouch. A 5 × 7 cm card, approximately 2.0 × 2.8 in, can become a much thicker assembly once an earring post, ring setting or pendant projects from its surface.
For rings, measure the widest setting and the raised profile instead of using ring size as a packaging measurement. For earrings, check posts and backs as well as the visible front. For necklaces, measure the arrangement on its card or holder rather than the full chain length.
If the jewelry is already inside a box, size the pouch for the outside of that box. The metal or gemstone dimensions are no longer the controlling envelope. For a watch, record whether the strap lies flat, curves around an insert or wraps around a cushion.
Finally, decide whether the pouch is a presentation layer or the main organizer. A loose necklace inside a fabric pouch may need a separate holder to preserve its arrangement. Extra bag space alone does not provide organization.
Jewelry Pouch Size Chart by Packing Arrangement
These sizes identify useful sample candidates. Assess the specific jewelry and construction before selecting one for production.
| Proposed drawstring pouch, outer W × total H | Approximate inches | Arrangement to explore | Critical check |
|---|---|---|---|
| 8 × 10 cm | 3.1 × 3.9 in | Small ring or earring presentation | Raised setting, posts and easy retrieval |
| 9 × 12 cm | 3.5 × 4.7 in | Small pendant or bracelet on a compact card | Card corners stay below the gathered neck |
| 10 × 15 cm | 3.9 × 5.9 in | Necklace on a taller card | Chain routing and pendant thickness |
| 12 × 17 cm | 4.7 × 6.7 in | Larger earrings, bangle or carded set | Total packed width plus depth |
| 15 × 20 cm | 5.9 × 7.9 in | Several separated pieces or a compact jewelry box | Components do not press against each other |
| 18 × 22 cm | 7.1 × 8.7 in | Watch cushion or bulkier presentation insert | Cushion girth and closure clearance |
A flap pouch requires a separate size definition. Record body width and height in its closed condition, flap length and any overlap or fastening position. Do not compare an unfolded flap dimension with the total height of a drawstring pouch. The usable opening and the way the jewelry is removed differ.
Work Through Rings, Cards and Cushions Separately
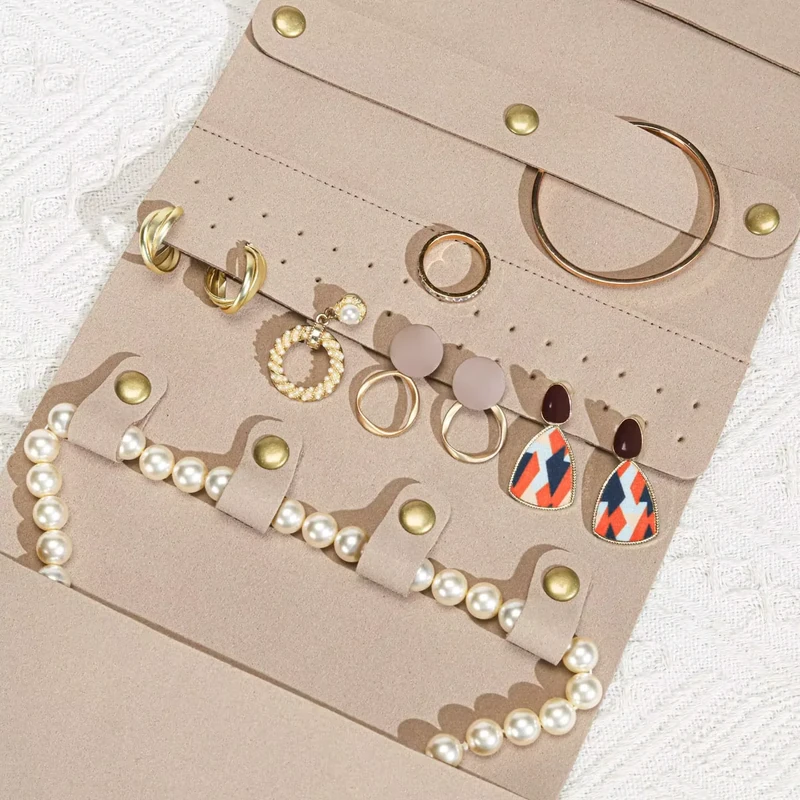
Consider an earring card measuring 6 × 8 cm, approximately 2.4 × 3.1 in. With the earrings attached, its packed thickness is 1.5 cm, approximately 0.6 in. If the assembly behaves roughly like a rectangular section, the ideal minimum usable flat width is 6 + 1.5 = 7.5 cm before ease.
An 8 cm outer-width pouch would leave very little room once seams and construction are considered. Comparing 9 and 10 cm outer widths is more useful than choosing from the card's face width alone. Height still needs a loaded test because the card cannot bend into the gathered channel.
A watch cushion measuring 8 × 8 × 6 cm, approximately 3.1 × 3.1 × 2.4 in, creates a different problem. With 8 cm across the front and 6 cm depth, the cross-section already requires 14 cm of usable flat width before ease. A pouch that works for a flat watch strap will not necessarily work for the same watch on that cushion.
For a bangle, measure the actual outside dimensions and the packed thickness. If it lies flat, do not treat its circular face as a cylinder inserted upright. The relevant circumference depends on its orientation. A photograph showing the intended packing position can prevent a lengthy misunderstanding over the word diameter.
Select the Contact Fabric and Interior Construction
Velvet-style, suede-like, satin, cotton and microfiber options give different visual and tactile effects. Confirm fiber composition, surface finish, thickness and lining rather than selecting from the material name alone. A soft feel does not establish scratch resistance or compatibility with every finish.
Inspect the inside of the sample with particular care. Raised seams, loose threads, label edges and the reverse of embroidery may contact the jewelry. Where a lining is selected, check whether it covers the relevant contact areas and whether it changes the opening or usable space.
Ordinary fabric packaging should not be described as anti-tarnish by default. GIA's jewelry care guidance distinguishes storage suitable for particular materials, including anti-tarnish bags or cloth for sterling silver. A material appearance or fiber name does not demonstrate that function.
Give the supplier the relevant jewelry surface and storage requirements. If a performance claim matters to the project, agree the suitable material evidence or product testing separately. For a collection containing delicate pieces and larger metal accessories, separate compartments or individual pouches may be more useful than simply enlarging one shared bag.
Balance the Closure and Logo on a Small Pouch
Small pouches leave little uninterrupted space for branding. Measure the panel below the gathered neck and away from side seams, then place the actual artwork on a mockup. Evaluate it with the jewelry inserted and the cord closed, because gathering can hide the top of a mark.
For example, a proposed 4 cm wide wordmark is approximately 1.6 in. On an 8 cm wide pouch it occupies half the outside width, but that does not automatically make it printable or readable. Letter detail, fabric texture, seams and the chosen decoration method still need review.
Screen printing, heat transfer, embroidery and woven or printed labels each produce a different result. Embroidery introduces stitches and backing that may need interior separation. A label has its own edges and attachment points. Request the intended decoration on the sample rather than approving only an unbranded blank.
Cotton cord and polyester cord suit different visual directions; ribbon can emphasize gift presentation. Confirm how far the opening expands and whether the user can retrieve a small item comfortably. The most attractive bow is unhelpful if it needs excessive untying for routine use.
Build a Jewelry Range and Approve Representative Samples
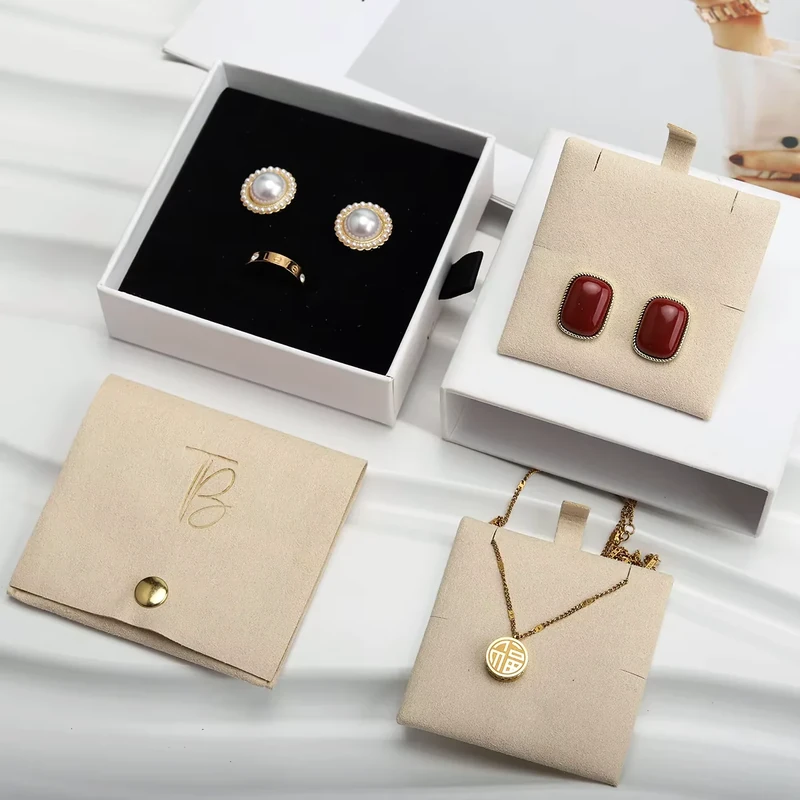
Start with the number of genuine packing arrangements. A brand might need one size for compact carded pieces, another for larger cards, and a third for cushions or boxes. It does not automatically need a separate pouch for every necklace length.
Test the largest setting, longest card, thickest insert and smallest loose component in each group. Check insertion, closure, removal and the resting position of the piece. Open and close the pouch several times to observe snagging or distortion, using an agreed review process rather than claiming a durability rating.
Record card dimensions and insert specifications alongside the pouch size. If the sales card changes later, repeat the fit review. A seemingly minor branding redesign can increase the card height enough to interfere with the channel.
For gift sets, photograph the approved arrangement and identify which pieces need separation. Treat any retail shipping protection as a separate packaging decision; a jewelry pouch alone should not be presumed to cushion transport impacts.
Conclusion
Jewelry pouch sizing works best when the piece, display components and interior contact surfaces are considered together. Use the chart to choose a sample direction, then refine the width, height and closure around the actual packed jewelry. Approve the decorated construction before repeating it across a collection.
Key Takeaways
- Measure jewelry in its intended packing position with cards and inserts included.
- Give raised settings, earring posts and cushions their own thickness allowance through sampling.
- Confirm the interior surface; softness alone is not a protection specification.
- Keep small logos legible below the closed drawstring area.
Frequently Asked Questions
An 8 × 10 cm outer-size drawstring pouch is one starting proposal for a small presentation, but the setting, holder and retrieval space control fit. A ring in a presentation box requires sizing around the box instead.
Usually the packed arrangement is more relevant. Measure the necklace on its intended card or holder and include the pendant's projection. A longer chain can occupy a compact arrangement, while a shorter rigid necklace may need a larger format.
That should not be assumed. Velvet-style describes an appearance or construction, not a verified anti-tarnish function. If that function is required, identify an appropriate material and supporting evidence for the intended jewelry and storage conditions.
Only if its arrangement and separation work for the pieces involved. A larger cavity allows more movement and does not prevent items from touching. Individual pouches, cards or a suitable internal organizer may make the set easier to pack and use.
The surface gathers and curves around the contents. Artwork near the channel can fold, while a wide design can wrap toward the sides. Check the decorated sample both flat and filled, and adjust size or position accordingly.
Related Resources
- Custom jewelry pouches — material, closure and branding directions.
- How to measure a drawstring pouch — understand usable space and product depth.
- Drawstring pouch size guide — compare sizes across packaging applications.
Send a photo of the jewelry with its card or insert through our contact page to discuss the most useful sample configuration.
Share your product dimensions, intended use, preferred fabric, closure, logo artwork and estimated quantity. We can review the details needed for a quotation and sample.
Discuss Your Pouch Project