
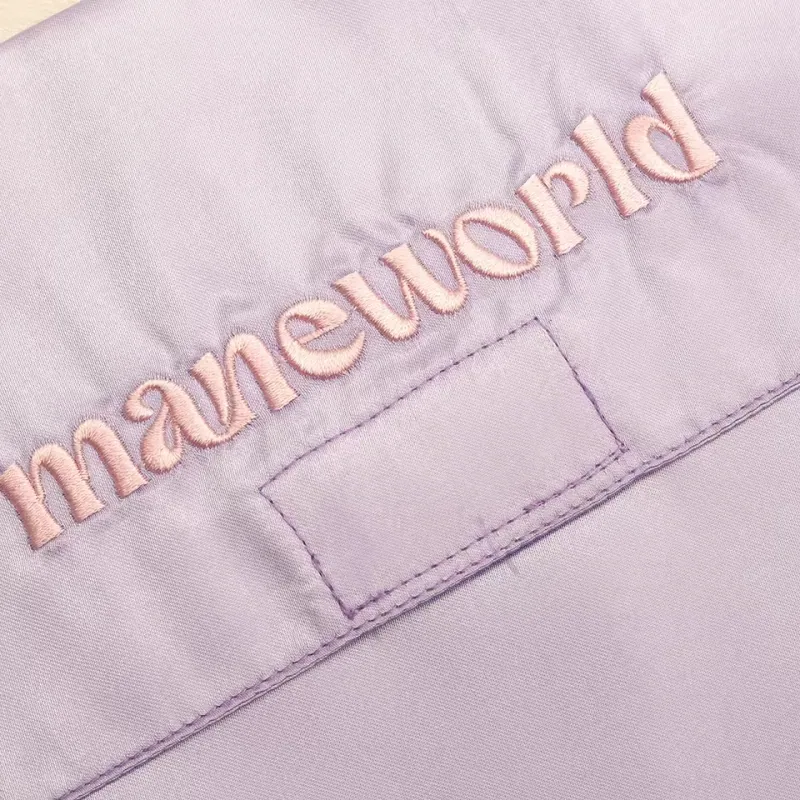
Choose embroidery when raised stitching is part of the intended brand appearance and the pouch fabric can support the design. Choose a woven label when a separate, defined brand element suits the pouch and the artwork can be woven clearly at the required size. Both involve thread, but they create different products: embroidery is stitched into the pouch panel, while a woven label is made separately and then attached.
The deciding details are often small. A label may lose usable area to folds or attachment stitches. Embroidery may add backing or visible thread on the reverse. A logo can look balanced on an empty canvas pouch and distort when the pouch is packed. Evaluate those details before choosing a method for an entire collection.
Understand the Physical Difference
Direct embroidery forms the artwork through stitches on the chosen panel. A design file needs to be prepared for stitching, rather than treated as a picture that is simply printed with thread. Shape, stitch direction, coverage and fabric behavior affect the finished result, so an embroidered sew-out is the useful approval reference.
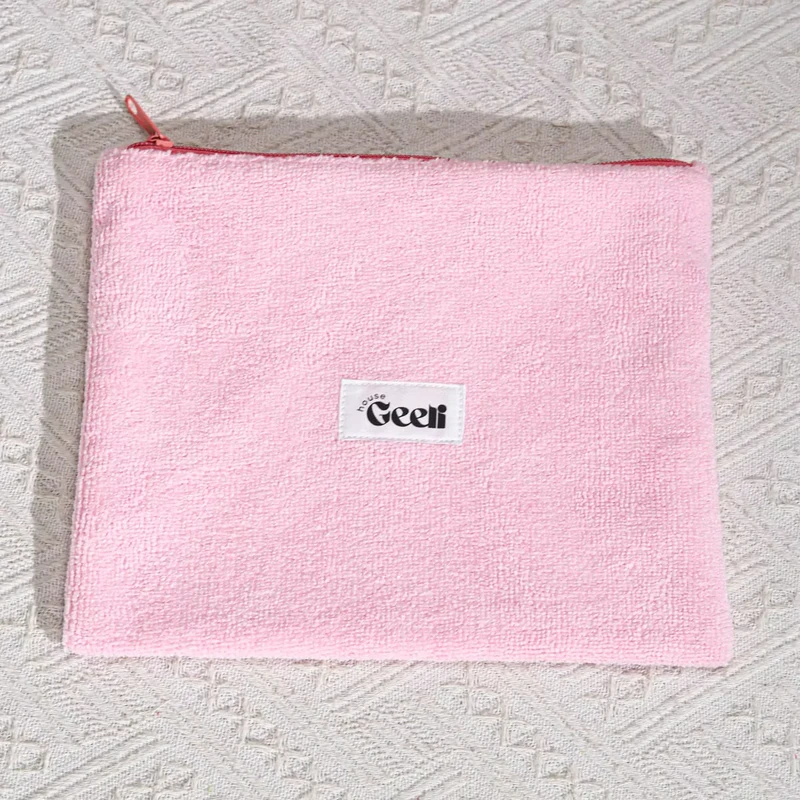
A woven label forms its design in a separate woven structure. It can then be attached as a face label, sewn into a seam or used in another feasible folded arrangement. Avery Dennison's branding overview distinguishes woven labels from printed fabric labels; ask for the exact construction instead of using “fabric label” as a complete specification.
| Comparison | Direct embroidery | Woven label |
|---|---|---|
| Visual effect | Raised stitched artwork integrated with the panel | Defined label area with its own background |
| Main design constraint | Reproducing the artwork while supporting the pouch fabric | Reproducing artwork within the visible label face |
| Reverse-side review | Stitching, backing and thread ends | Attachment stitches and any seam insertion |
| Placement decision | Accessible panel area clear of construction bulk | Label face, folds, margins and attachment route |
| Useful approval sample | Sew-out on the selected fabric, then assembled pouch | Woven strike-off or label sample, then attached pouch |
Neither method is automatically a guarantee of durability or a higher-value appearance. A well-proportioned label may suit a quiet travel collection; a simple embroidered emblem may suit a more tactile design. Compare the particular versions rather than ranking the categories.
Match Artwork and Fabric Before Comparing Prices
An embroidery design that is mostly open lines presents a different task from a dense filled badge. A light, soft fabric may react differently from a stable canvas panel. Do not assume that increasing fabric GSM alone solves every issue: weave, flexibility, construction and the design itself still matter.
Madeira's stabilizer guidance explains that backing supports fabric and helps control distortion, with cut-away stabilizers used for relevant unstable fabrics. The buyer's action is to approve the specific backing arrangement and finished reverse, not to prescribe one backing for all pouches.
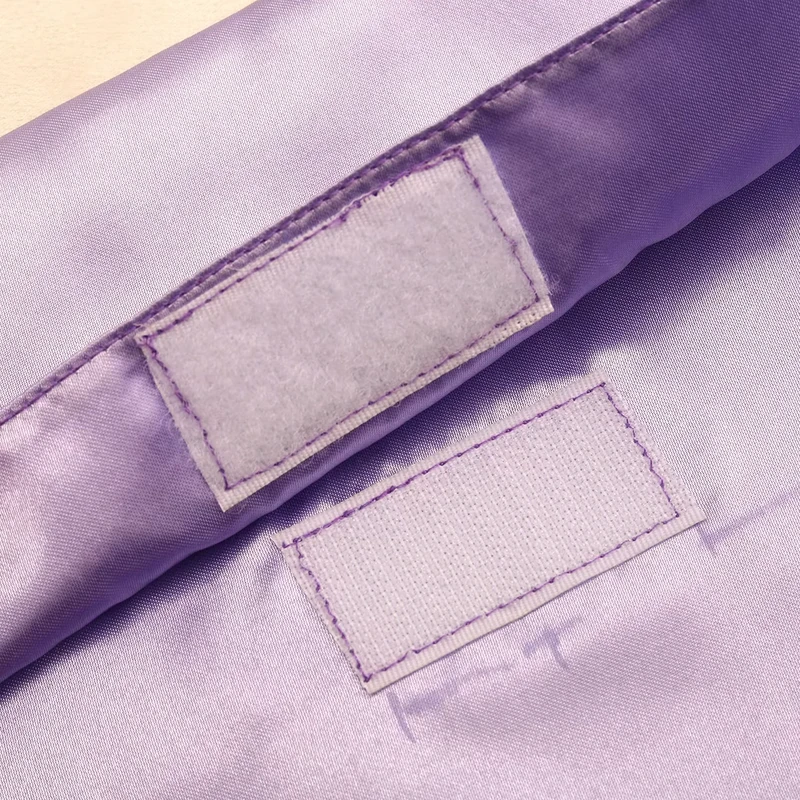
For delicate contents, inspect how the interior is finished. Embroidery on an unlined pouch may leave a different contact surface from embroidery completed before a lining is installed. A woven label attached through both layers can also create stitching inside. Ask how the proposed construction treats the interior, then feel and inspect the sample rather than assuming a lining automatically conceals every attachment.
Artwork needs the same practical review. Small lettering, narrow gaps and close color combinations can become difficult to read in either thread-based method. There is no universal minimum text height or line width that works for all yarns, thread, fabric and designs. Request the most demanding part of your artwork at the intended physical size.
Plan Embroidery and Label Sizes for Different Pouches
All sizes below are illustrative sample starting points. They are not minimum capabilities, stock dimensions, industry standards or guaranteed decoration areas. Pouch measurements are finished outer width × height; drawstring height includes the channel. Embroidery dimensions describe the visible design. Label dimensions describe its finished visible face, excluding any concealed folds or insertion allowance.
| Proposed pouch | Embroidery size to trial | Woven label face to trial | Initial placement idea |
|---|---|---|---|
| 12 × 17 cm jewelry pouch | 30 × 15 mm simplified mark | 25 × 12 mm | Centered front; lower design or label edge 30 mm above bottom seam |
| 18 × 24 cm gift pouch | 50 × 25 mm emblem | 35 × 15 mm | Centered front; lower edge 45 mm above bottom seam |
| 23 × 16 cm travel pouch | 60 × 25 mm wordmark | 40 × 15 mm | For label: left edge 25 mm from side seam, lower edge 25 mm above bottom seam |
| 35 × 40 cm dust bag | 80 × 35 mm mark | 50 × 20 mm | For embroidery: centered, lower edge 90 mm above bottom seam |
The two methods do not need identical dimensions. A defined label background can make a smaller mark visually prominent, while embroidery may read as part of the fabric. Assess the whole composition at normal handling distance.
On drawstring pouches, place the sample in its gathered state before approving. On gusseted bags, identify the front-panel seam or fold used as the placement reference. If a decoration ends up on a turning edge, it can appear smaller or distorted despite matching the flat drawing exactly.
Specify Label Folds and Attachment Without Ambiguity
A label supplier needs to know whether the dimensions refer to a cut piece, a folded component or the visible face after sewing. Those are not interchangeable. Draw the folds and the area occupied by attachment stitches, and keep important artwork away from any part that will be hidden.
For example, a proposed end-fold label might have a 40 × 15 mm finished face, with 5 mm folded behind at each short end. That gives a 50 × 15 mm nominal cut piece in this simple planning example. These numbers are only a sample brief: the label maker must confirm suitable construction and margins. The folded ends, sewing lines and visible artwork area should all appear on the drawing.
A center-fold label is a different design and should not inherit that calculation. A label inserted into a side seam also needs a clearly stated insertion allowance and exposed projection. Ask whether the printed or woven face is meant to be readable from the front, back or both sides once the label is attached.
For a face label, specify the distance from its finished edge to the pouch seam. For embroidery, specify the distance from the visible artwork bounding edge. If both drawings simply say “25 mm from the side,” a label border and a stitched emblem may end up in different visual positions.
Work Through a Travel Pouch Branding Sample
Consider a proposed 23 × 16 × 5 cm canvas travel pouch. The brand has a short wordmark with a small symbol. Compare a 60 × 25 mm embroidered version with a 40 × 15 mm end-fold woven label face. These are sample proposals, not a statement that either size is feasible for every version of the artwork.
For the embroidery, center the visible design on the front and place its lower edge 40 mm above the finished front-panel bottom seam. For the label, position its finished left edge 25 mm from the left side seam and its lower edge 25 mm above the bottom seam. The different layouts are intentional: one is a front emblem, the other a smaller brand detail.
Request the embroidery sew-out on the selected canvas and the woven label sample before treating a digital mockup as approval. Check the smallest letters, color contrast, surrounding fabric and the underside. Then evaluate each on a completed pouch with the actual travel items inside.
Compare how the front bends. If embroidery makes the chosen area feel too firm for the intended soft pouch, simplify or reduce the stitched design and resample. If the woven wordmark looks crowded, enlarge the label face or simplify the lockup rather than reducing every character further. Keep the approved artwork revision and folded label drawing with the final sample.
Avoid Common Ordering and Inspection Mistakes
Do not approve embroidery from a sew-out on an unrelated fabric. Do not approve a woven label only as a loose component when its folds or placement are still undecided. Both shortcuts omit the part of the construction most likely to change the final appearance.
For price comparisons, state artwork size, color count, placement, quantity and the pouch construction. Embroidery pricing can be affected by the actual stitch design; label pricing also involves the component and its attachment. Avoid comparing only the cost of a loose label with the price of an embroidered finished pouch.
Inspect the inside for exposed edges, backing and untidy thread ends. Check whether a side label catches on the contents or disappears into a seam. If washing is part of the intended use, evaluate the complete fabric, thread, label and trim combination under agreed conditions. The terms “embroidered” and “woven” do not establish an unlimited care life.
Finally, retain a physical reference for repeat orders. A digital color code alone cannot describe thread sheen, label texture or the appearance of a woven border. Record the accepted placement dimensions as well as the visual sample.
Conclusion
Embroidery and woven labels create different kinds of branding. Select the one that suits the fabric, artwork and filled pouch, then approve the reverse side, folds and attachment with the same care as the front appearance.
Key Takeaways
- Embroidery is stitched into a panel; a woven label is a separate attached component.
- Review fabric support and the interior finish before approving embroidery.
- Distinguish a label's visible face from its cut size, folds and insertion allowance.
- Use actual-size samples and seam-based placement drawings for each pouch size.
Frequently Asked Questions
No. A woven label forms its design within its woven structure. An embroidered patch uses stitches on a separate base. If a reference image is unclear, ask which construction it shows rather than treating every raised or textile label as interchangeable.
It may be feasible for an appropriate simplified design and fabric, but it needs a sample. Check readability, distortion and the interior contact surface. The pouch being small does not establish a universal maximum or minimum embroidery size.
It is incomplete unless the measurement basis is stated. It could mean the cut component or the finished visible face. Specify the face dimensions, folds, attachment margins and any seam insertion separately on a drawing.
It can be designed to cover it, depending on when the decoration and lining are assembled. Confirm the actual construction. Embroidery or label attachment performed through both layers can remain visible inside despite the presence of a lining.
Often it is a useful design approach, but verify the proportions and attachment on every size. A shared label can look balanced on a travel pouch and oversized on a small jewelry pouch. Keep separate placement references for each product.
Related Resources
- Custom pouch logo methods for comparing all branding choices.
- Fabric weight and GSM for pouches for assessing the body material.
- Custom travel pouches for coordinated storage and organizer designs.
Contact WisePouch with your logo, proposed pouch dimensions and preferred embroidery or label appearance to develop a practical sample.
Share your product dimensions, intended use, preferred fabric, closure, logo artwork and estimated quantity. We can review the details needed for a quotation and sample.
Discuss Your Pouch Project