
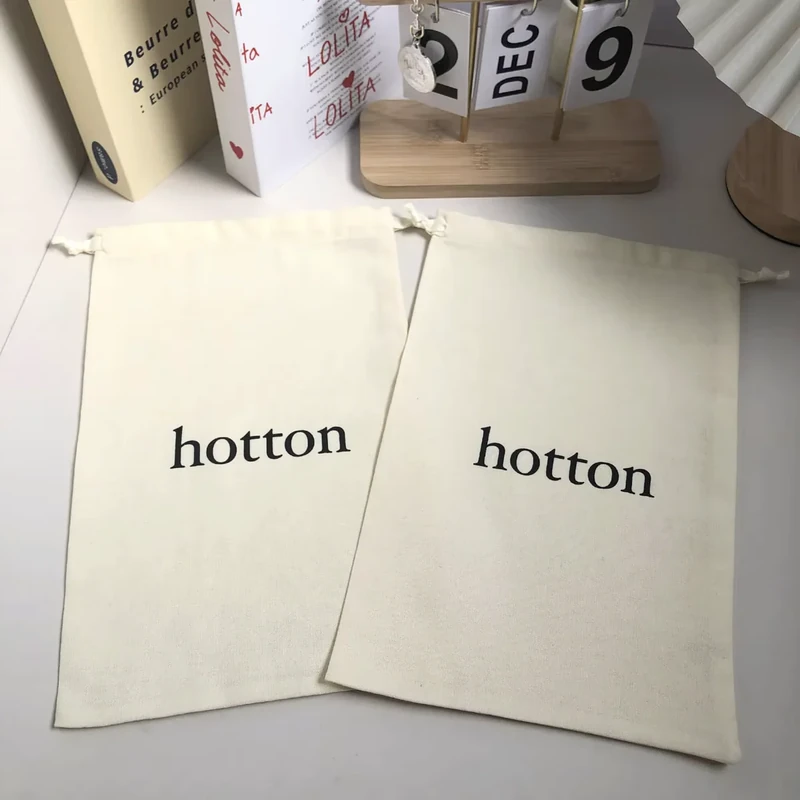
Choose a shoe bag from the actual footwear measurements and packing arrangement, not the shoe-size label alone. Record outsole length, maximum width and the highest part of the shoe. Then decide whether each shoe gets its own pouch or the pair shares one bag.
These decisions affect the required width, opening and closure space. A pair of slim loafers and a pair of bulky trainers can need different packaging despite carrying the same nominal shoe size.
Decide Whether You Are Packaging One Shoe or a Pair
Individual pouches separate the shoes and let the user place them independently in luggage. A single pair-size bag keeps the pair together but must accommodate the combined shape. A zip case offers another structure, with a defined depth and an entrance controlled by its zipper path.
Separate-shoe packaging is an established format; for example, Briggs & Riley offers individual shoe pouches. That illustrates the arrangement, not a transferable fit claim for another bag.
Specify the quantity basis when requesting a quotation. “500 shoe bags” could mean 500 individual pouches, 250 two-pouch sets or 500 bags intended to hold complete pairs. State how many physical bags make one saleable set, whether the two pouches are identical and how they will be packed together.
Also decide the purpose. A shoe bag supplied with new footwear may prioritize retail presentation. A travel bag may need a particular opening, handle or internal separation. Neither purpose establishes water resistance, odor control, washability or a load rating by itself.
Measure the Footwear in Its Packing Position
Measure outsole length from the furthest heel point to the furthest toe point. Record the maximum width, which may occur at the sole rather than the upper. Measure the height at the instep, heel counter or other highest area relevant to the selected orientation.
Include any shoe trees, stuffing or protective wrapping that will remain inside. A structured insert can prevent the shoe from compressing into a pouch that appeared to fit an empty shoe. Buckles, ornaments, tall tongues and heel shapes also deserve attention.
For one shared bag, position both shoes exactly as intended: side by side, heel to toe or another suitable arrangement. Measure the assembled pair as one object. Do not simply double an individual shoe's width unless that represents the actual arrangement.
For boots, measure shaft height, outsole length and the packed pair's depth or width. If the shaft must stay upright, retain that condition while sizing. A tall boot should not be folded to meet a small pouch specification unless that storage method is appropriate and intentionally approved.
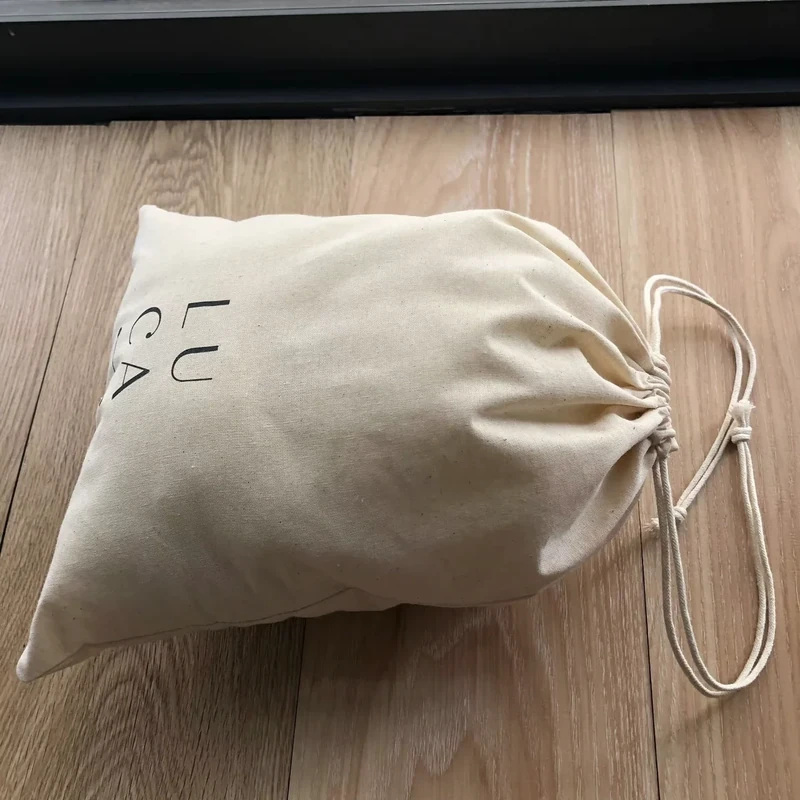
Shoe Bag Size Chart for Sample Planning
Flat drawstring dimensions below are finished empty outer W × total H, including the channel. Zip cases use the labeled three-dimensional body measurements, excluding external handles. Inches are approximate. These are proposed sample sizes, not footwear-size guarantees.
| Proposed outer size | Approximate inches | Structure | Project direction |
|---|---|---|---|
| 21 × 36 cm | 8.3 × 14.2 in | Flat drawstring, one shoe | Compact or slim footwear |
| 25 × 42 cm | 9.8 × 16.5 in | Flat drawstring, one shoe | Adult low-cut shoe proposal |
| 28 × 45 cm | 11.0 × 17.7 in | Flat drawstring, one shoe | Bulkier low-cut shoe proposal |
| 30 × 48 cm | 11.8 × 18.9 in | Flat drawstring, one shoe | Ankle footwear with greater height or bulk |
| 38 × 45 cm | 15.0 × 17.7 in | Flat drawstring, one pair | Paired low-cut footwear arrangement |
| 42 × 50 cm | 16.5 × 19.7 in | Flat drawstring, one pair | Larger combined pair proposal |
| 35 × 23 × 14 cm | 13.8 × 9.1 × 5.5 in | Zip case, L × W × H | One-pair travel case proposal |
| 25 × 65 × 35 cm | 9.8 × 25.6 × 13.8 in | Upright boot carrier, W × H × D | Tall-boot project with opening and divider review |
The smaller flat options should not be assigned to children's footwear solely from their size. Measure the actual product and consider the intended user and closure design separately. Keep the table as a development tool rather than a retail fit chart.
Calculate Width Around the Shoe's Full Cross-Section
Consider a shoe approximately 30 cm long, 11 cm wide and 12 cm high, or 11.8 × 4.3 × 4.7 in. If its fullest cross-section is simplified as a rectangle, the minimum usable flat tube width is 11 + 12 = 23 cm before ease.
The actual shoe may have a more rounded shape, but this calculation explains why an 11 or 15 cm wide pouch is an inadequate proposal. A 25 cm outer width is a sample candidate, not a confirmed solution: seams and fabric thickness reduce usable room, and the opening must allow the heel and instep through.
Now place two shoes together. If the assembled cross-section measures 21 cm wide and 12 cm deep, its rectangular screening value is 33 cm of usable flat width before ease. A 38 cm outside-width prototype is worth reviewing, but the assembly must be measured and inserted as agreed.
Length does not settle total height either. The flat bottom forms around the toe or heel, and the top needs gathering space. Check a filled sample instead of assuming a fixed extra length works for every shoe profile. The pouch measurement guide explains the underlying geometry.
Choose an Opening, Fabric and Interior That Suit the Footwear
For drawstring pouches, check the fully opened mouth and the path the shoe follows during insertion. The widest sole or heel can catch at the channel even when the body is large enough. Cotton cord, polyester cord and ribbon create different handling and presentation effects; use the intended version during sampling.
For a zip case, inspect the actual clear opening rather than the zipper's nominal length alone. End stops, tabs, lining and a curved zipper path can limit access. A case with adequate internal volume may still be frustrating if the shoe must be twisted through a small entrance.
Cotton, cotton canvas and polyester are possible material directions depending on the structure. Compare surface contact, drape, seam thickness and the desired cleaning method on selected samples. A polyester outer alone does not establish a waterproof bag, and a cotton label alone does not supply a washing instruction.
If the pair must be separated, develop two pouches or assess an internal divider. Check whether the divider stays between the shoes during packing and removal. A loose flap that moves aside may not provide the intended organization.
Validate the Largest and Most Awkward Shoes in the Range
Test more than one footwear model. The longest outsole may not belong to the shoe with the highest instep or widest sole. Select samples that represent each limiting shape, including prominent buckles or decorations if the range contains them.
Have the packing team repeat the chosen arrangement. Observe insertion, closure, opening and removal without forcing the fabric. Inspect whether the cord tightens against the shoe, whether a zipper presses into the upper and whether seams distort around the heel.
Record the accepted footwear range and packing orientation alongside the bag dimensions. If a future collection adds platform soles or taller ankle shapes, repeat the review rather than assuming the previous nominal shoe-size range still applies.
Place the logo on the loaded bag. A wide wordmark can curve around a shoe or disappear into a fold. For a pair of individual pouches, agree whether both carry the same decoration and where it sits when the pair is presented together.
Conclusion
Shoe bag sizing begins with footwear shape and the number of shoes in each bag. Measure the complete arrangement, use depth to screen flat-width proposals and approve the entrance as carefully as the body. A written packing method makes the selected size easier to reproduce.
Key Takeaways
- Nominal shoe size does not describe outsole shape, instep height or paired volume.
- Define one shoe, one pair and two-pouch sets clearly in the quotation.
- Test the opening and closed neck, not just the empty outer dimensions.
- Treat boots and bulky footwear as separate development cases.
Frequently Asked Questions
There is no single guaranteed size. A 38 × 45 cm flat outer-size bag is one proposal to sample for a pair of low-cut shoes. The actual combined width, height, outsole length and packing orientation determine whether it works.
They offer different advantages. Individual pouches keep shoes separated and can be placed independently. One shared bag keeps the pair together. Compare the packing experience, set presentation and required materials for your intended use.
Use that information to identify the footwear range, then measure representative shoes. Size labels do not establish external sole length, width or upper height, and those dimensions can differ between styles within the same labeled size.
The clear entrance can be smaller than the interior body. Check the zipper path, end stops, lining and opening angle. A longer or differently positioned opening may be more useful than simply increasing the case volume.
Often they need a separate review because shaft height and shape add requirements absent from low-cut footwear. Measure the intended upright or approved packed form, then evaluate the opening, body depth and any internal divider with actual boots.
Related Resources
- Custom shoe bags — individual pouches, pair-size formats and carrier options.
- How to measure a drawstring pouch — width, depth and closure calculations.
- Handbag dust bag size guide — related sizing principles for fashion packaging.
Share footwear photos, measured dimensions and the required pair or set arrangement through our contact page to discuss a sample.
Share your product dimensions, intended use, preferred fabric, closure, logo artwork and estimated quantity. We can review the details needed for a quotation and sample.
Discuss Your Pouch Project