
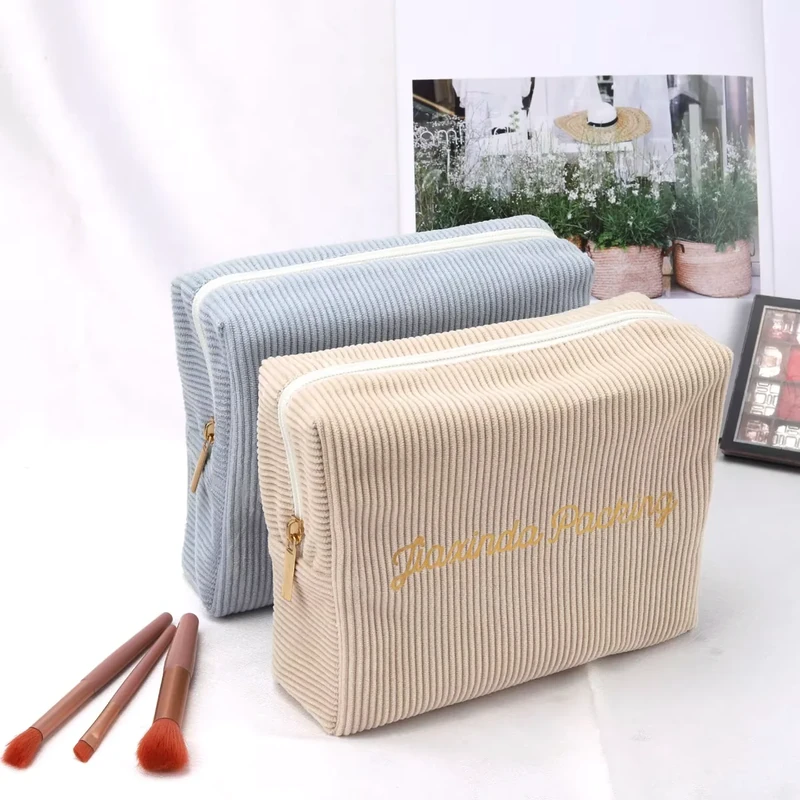
The right travel pouch size fits both the items inside and the luggage around it. Start with the longest rigid item, the assembled bundle's thickness and the opening needed for removal. Then choose a flat or gusseted construction. Calling a pouch “small,” “medium” or “large” is useful for a collection, but the purchasing specification should give actual outer dimensions and a repeatable packing example.
For custom development, it is often more useful to create three clearly different jobs for three pouches than to enlarge the same shape three times.
1. Define the organizer's job before choosing dimensions
Cable organization, a toiletry set and folded clothing create different shapes. Cables can fill awkward gaps, but a charger or adapter is rigid. Bottles need room around caps and shoulders. Clothing compresses under pressure, yet a pouch should still close without relying on the user to force the zipper.
Write an item list with quantities. Include plugs, cases, protective caps and the largest planned product variant. If the pouch accompanies a retail kit, measure the complete kit rather than its main component. A travel set supplied without fixed contents needs a representative packing scenario and a clearly stated intended use.
Also decide where the pouch lives: a backpack pocket, a carry-on corner or the main suitcase compartment. The finished item must be checked in that location while filled. Do not infer airline approval or liquid-screening compliance from a pouch's name or size; these organizers are being discussed as packing products.
2. Compare useful size starting points
All dimensions below are illustrative sample briefs, not stock specifications or universal travel sizes. For a shaped pouch, W × H × D means left-to-right width, bottom-to-top height and front-to-back depth, measured with the empty body shaped and gussets open, without stretching. Flat sizes are empty outer W × total H. Handles and loose zipper pulls are excluded. Drawstring height includes the channel where applicable.
| Proposed organizer | Construction | Outer size, cm | Approximate inches |
|---|---|---|---|
| Slim cable pouch | Flat zipper | 18 × 13 | 7.1 × 5.1 |
| Small accessory pouch | Gusseted zipper | 19 × 11 × 6 | 7.5 × 4.3 × 2.4 |
| Divided accessory organizer | Gusseted zipper | 25 × 18 × 8 | 9.8 × 7.1 × 3.1 |
| Mixed travel essentials | Gusseted zipper | 27 × 18 × 11 | 10.6 × 7.1 × 4.3 |
| Folded clothing organizer | Shaped zipper | 36 × 25 × 8 | 14.2 × 9.8 × 3.1 |
| Travel laundry separation | Flat pouch | 32 × 48 | 12.6 × 18.9 |
Conversions use 1 in = 2.54 cm. These external measurements do not state internal capacity. Established travel brands also separate organizer sizes by intended packing use; see the Eagle Creek packing cube size guide for a manufacturer example, rather than a universal standard.
3. Choose flat, gusseted or divided construction
A flat pouch can be a straightforward choice for a few slim items. Once filled, however, its front and back panels bend around the contents, reducing the useful span across the face. A 20 cm wide flat pouch is not automatically suitable for a rigid 20 cm wide object.
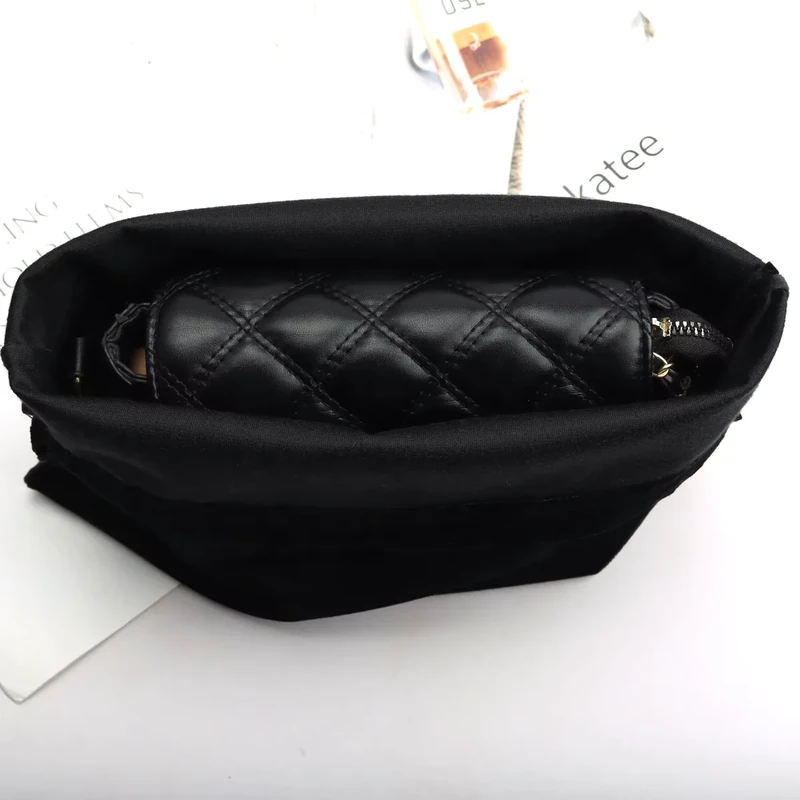
A gusset creates a defined depth direction, which helps describe boxier contents. It also introduces corner shaping, seams and possible lining folds. Measure the actual interior and zipper opening on the sample rather than assuming the outside dimensions are fully available.
Dividers work when they solve a clear retrieval problem. For example, separating a charger from loose cables may help keep the charger accessible. But divider seams and pocket layers consume space. A divided version and an undivided version with the same outer size will not necessarily fit the same kit.
Choose the fewest compartments that make the intended items easy to find. Include the width and entry height of important pockets in the specification; an unlabeled sketch of “three pockets” is not enough to establish fit.
4. Work through a compact accessory-kit example
Imagine a proposed kit containing a 7 × 5 × 3 cm charger, a 5 × 4 × 2 cm adapter and two loosely coiled cables approximately 8 cm across. These are hypothetical items, not a measured customer case. Arrange them on a desk as users should pack them and measure the complete envelope.
Suppose the chosen arrangement occupies 16 × 8 × 4.5 cm. A starting gusseted pouch of 19 × 11 × 6 cm leaves nominal differences of 3 cm in width, 3 cm in height and 1.5 cm in depth. Those differences must accommodate seams, lining, curvature and handling room; they are not guaranteed clearances inside the bag.
Make the first sample without a divider. Insert the largest charger through the opening, close the zipper, and remove each item while the others remain in place. If the adapter disappears beneath the cables, compare a small internal pocket in the next version. If the charger catches on the opening, a longer or differently arranged zipper may solve the problem more efficiently than enlarging every dimension.
Record the winning arrangement with a photo. It becomes the reference for checking later changes to lining, fabric or pocket construction.
5. Plan a coordinated set around luggage space
A three-piece set might pair the 19 × 11 × 6 cm accessory pouch with a 25 × 18 × 8 cm divided organizer and a 36 × 25 × 8 cm clothing pouch. These are sample concepts; confirm that the jobs are distinct and that the intended user needs all three.
Draw the filled footprints in the target suitcase or backpack. Include pockets, wheel housings, internal straps and the space needed to grip and lift each organizer. Two outer widths that add up to the suitcase's measured width may still fail because of curved corners or bulging fabric.
Also distinguish a coordinated set from a nesting set. If the empty smaller pouches should pack inside the largest for retail or shipping, test that arrangement separately. Zipper pulls, folded seams and labels add bulk even when the bodies appear flat.
Use consistent branding without forcing identical logo sizes. A proposed 5 cm logo may suit a small accessory pouch, while an 8 cm version can be evaluated on the clothing organizer. Confirm actual artwork dimensions and placement independently for each size.
6. Complete the material and sample brief
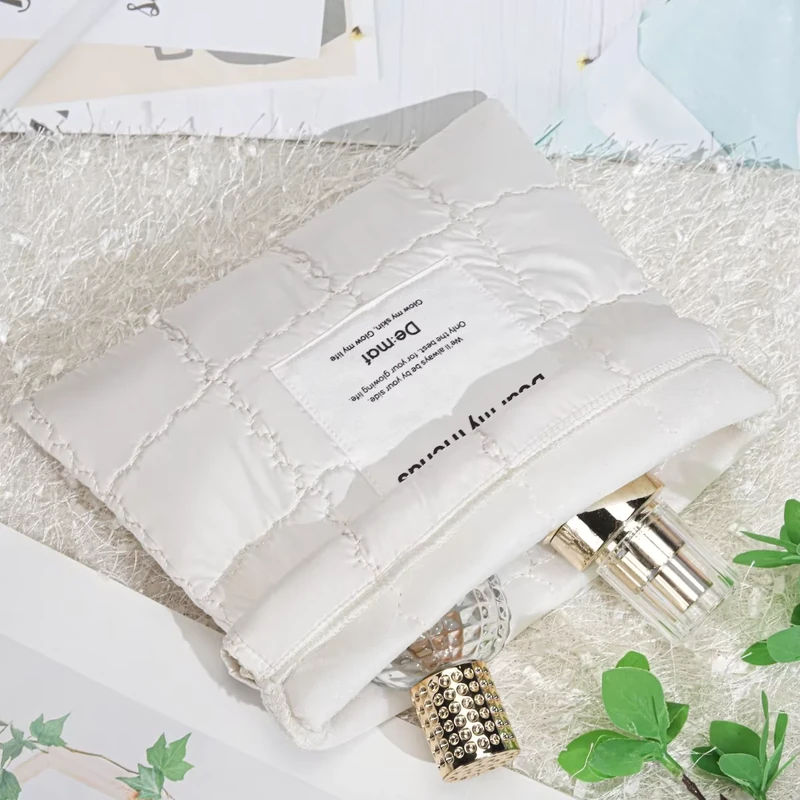
Specify composition, fabric construction, weight, finish and lining instead of asking only for “travel material.” Cotton, cotton canvas and polyester are options to evaluate against the desired feel, folding bulk, printed appearance and care requirements. No fiber name proves that a finished pouch is waterproof, washable or protective against impact.
Select the closure with the filling pattern in mind. A top zipper may work for narrow contents; an opening that extends farther around the body may improve access to a clothing stack. Drawstrings can suit simple flexible bundles, but they gather the upper body and change the available space. Test the full movement with real contents.
At sample approval, record the empty outer dimensions, acceptable tolerance, largest item, packing photo, zipper opening and pocket measurements. Agree any functional checks needed for the intended use. Review screen print, heat transfer, embroidery or label options on the chosen material, including the reverse side where it contacts the contents.
For a set, state quantity per component and how pieces are packed together. WisePouch's standard MOQ is 500 pieces; the counting basis for mixed sizes or sets should be confirmed in the quotation.
Conclusion
Build travel pouch sizes from a packing task and a luggage location. Outer dimensions provide the starting language, while a filled sample reveals usable room, access and corner behavior. Approving that relationship gives a brand a more useful organizer than choosing dimensions solely by appearance.
Key Takeaways
- Measure the complete kit, including rigid accessories and protective cases.
- Label flat and gusseted dimensions clearly, with a consistent orientation.
- Evaluate zipper access and compartments as well as the body size.
- Check filled luggage fit and empty nesting as separate tasks.
Frequently Asked Questions
For slim cables alone, an 18 × 13 cm flat sample can be a starting point. Add a bulky charger or adapter and a gusseted 19 × 11 × 6 cm concept may deserve comparison. Measure the complete kit first.
No. Extra room can allow small items to move and can waste a useful luggage space. Choose sufficient room for loading and removal, then add compartments only when they improve access to the actual contents.
Multiplying three external measurements describes a bounding box, not the usable interior of a sewn pouch. Curves, seams, lining and filling behavior change usable volume. State capacity only with an agreed measurement method and verified result.
There is no single allowance for every pouch. Start with a modest sample margin, then test insertion, closure and removal. Rigid items, thick lining, shaped corners and narrow zipper openings can require different adjustments.
It may fit both sets of objects, but the intended function still matters. Ordinary fabric and zipper construction do not establish leak containment or impact protection. Define the actual use and evaluate the material and structure accordingly.
Related Resources
- Laundry bag sizes for travel and hotels covers worn-clothing separation.
- Polyester versus cotton travel bags helps structure a fabric comparison.
- Custom travel pouches presents shapes and customization options.
Share your item list, luggage constraints and preferred sizes through Contact WisePouch so we can work toward a practical sample brief.
Share your product dimensions, intended use, preferred fabric, closure, logo artwork and estimated quantity. We can review the details needed for a quotation and sample.
Discuss Your Pouch Project